
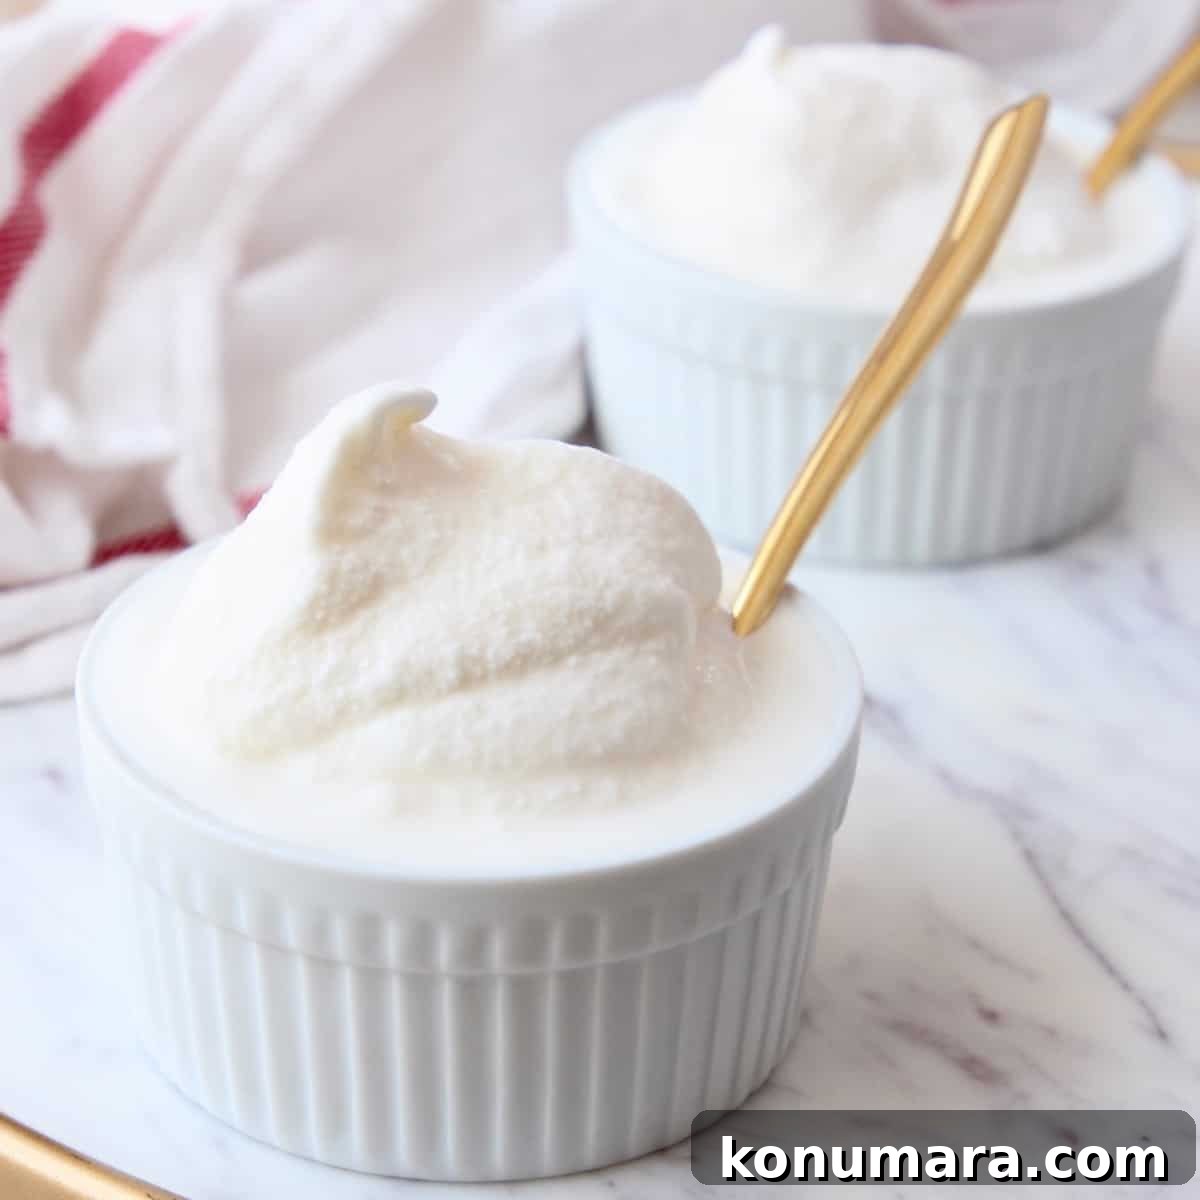
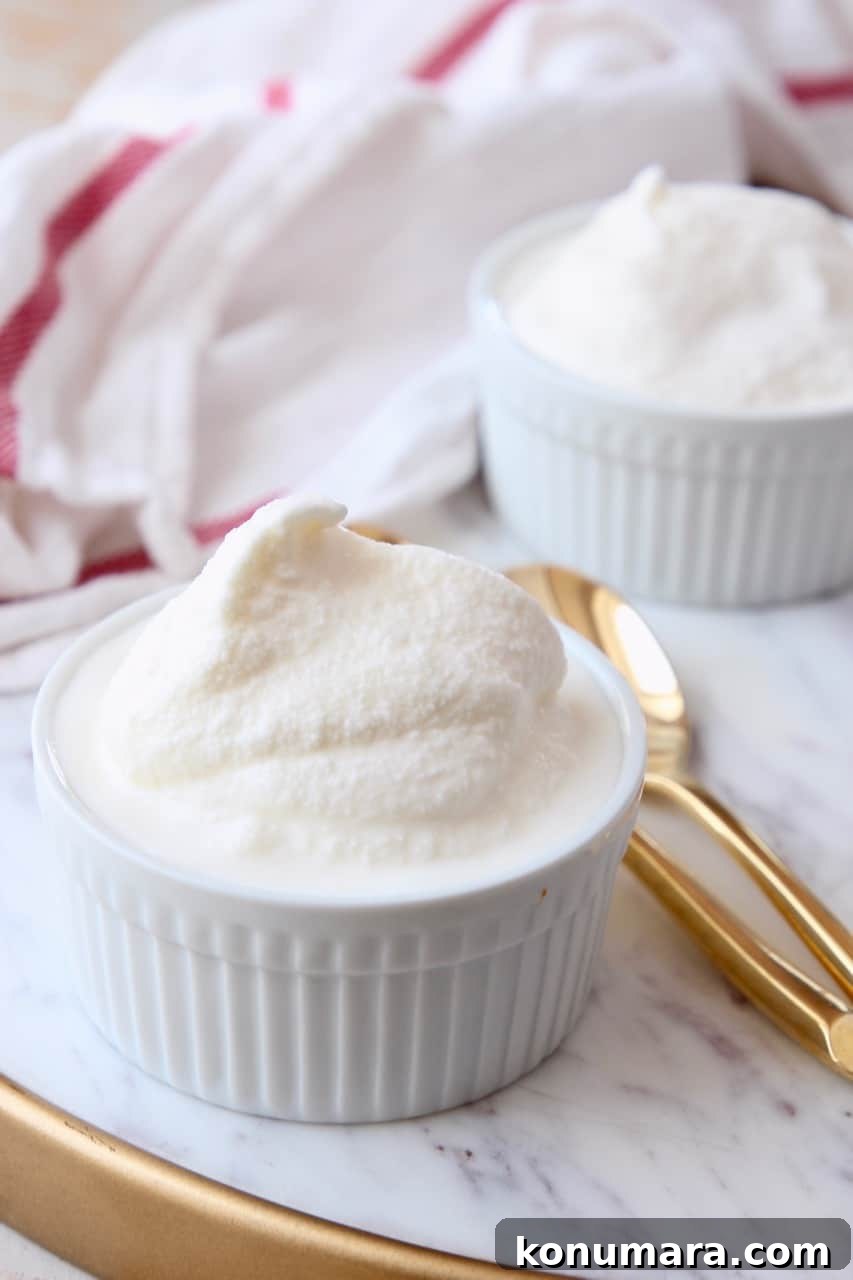
My family’s Homemade Old Fashioned Ice Cream recipe has been passed down for generations. It makes a rich, classic vanilla ice cream that’s perfect for summer barbecues, parties, or any warm day when you want a comforting frozen treat. Prepare the ingredients in just a few minutes, then let the ice cream maker do the work.
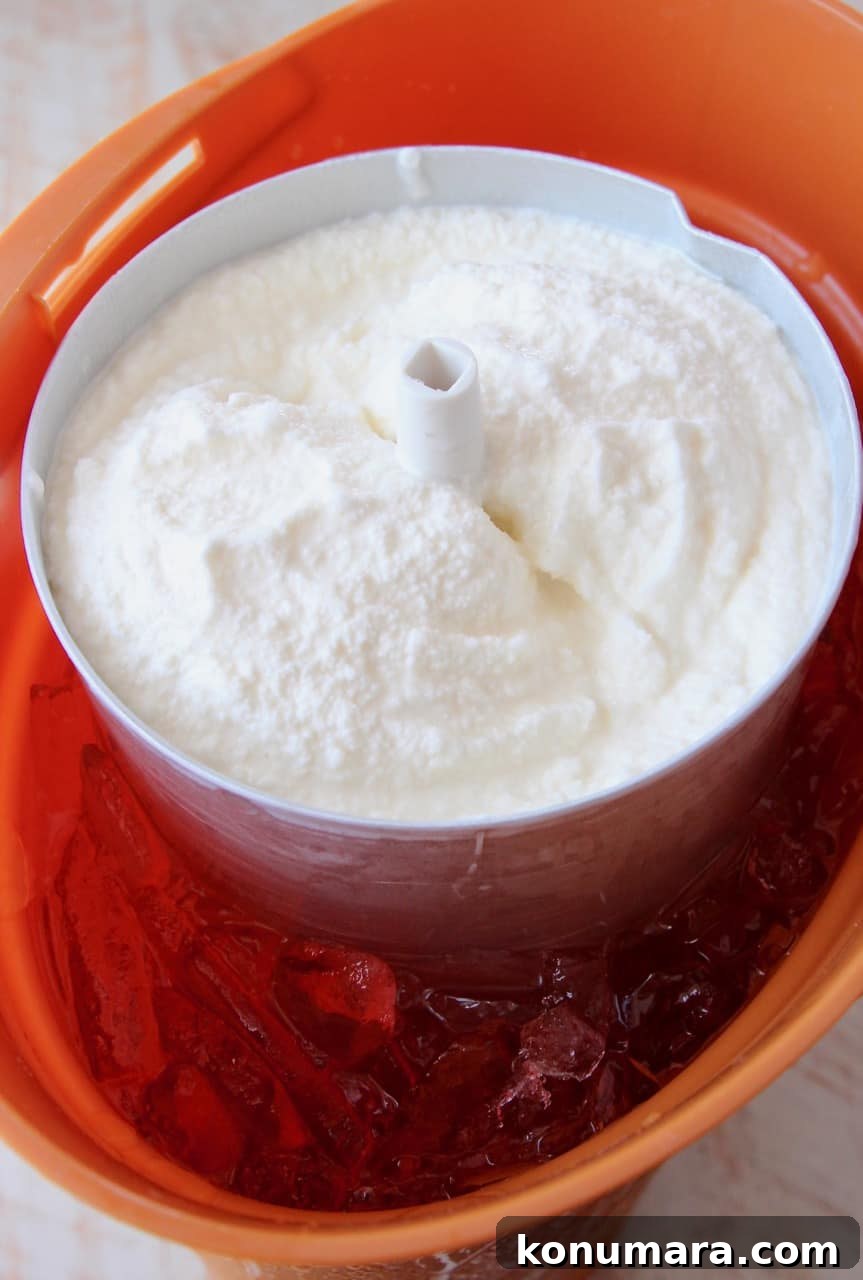

Learn how to make my family’s homemade ice cream
Growing up in Oklahoma, the summers were long and hot, and this old fashioned homemade vanilla ice cream was our favorite way to cool off. The sound of the churner, the sweet vanilla aroma and that first frosty bite bring back memories of backyard barbecues and family get-togethers.
Simple, nostalgic, and utterly delicious. This recipe highlights a pure, creamy vanilla flavor—no strange additions, just classic ice cream made the traditional way with an ice cream maker.

Step-by-step instructions
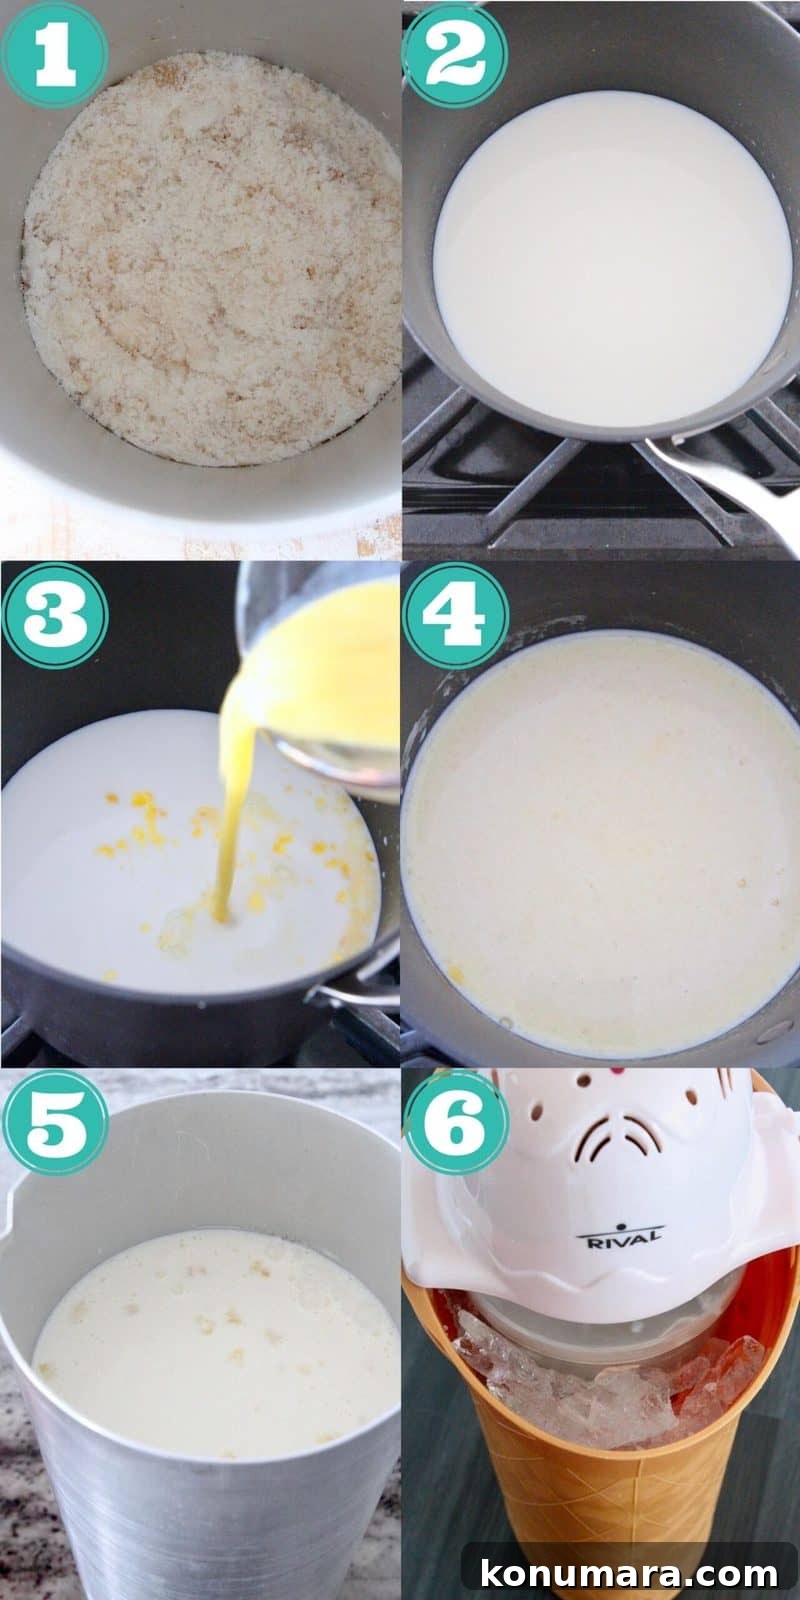
- Combine the granulated sugar and vanilla extract in the base of your ice cream maker, then pour in the heavy whipping cream and stir until combined.
- Warm 2 cups of 2% or whole milk in a saucepan over low heat. It should be warm but not simmering.
- Slowly add the four whisked eggs to the warm milk, whisking constantly to incorporate.
- Continue whisking the milk-and-egg mixture over low heat for 2–3 minutes. Keep the temperature low so the eggs don’t scramble—you’re aiming for a lightly thickened custard-like texture.
- Pour the custard mixture into the ice cream maker base, then add the remaining milk.
- Stir everything together, fit the lid, and place the base into the machine. Surround the ice cream canister with ice and rock salt—start with about 4 pounds of ice and 1/2 cup of rock salt.
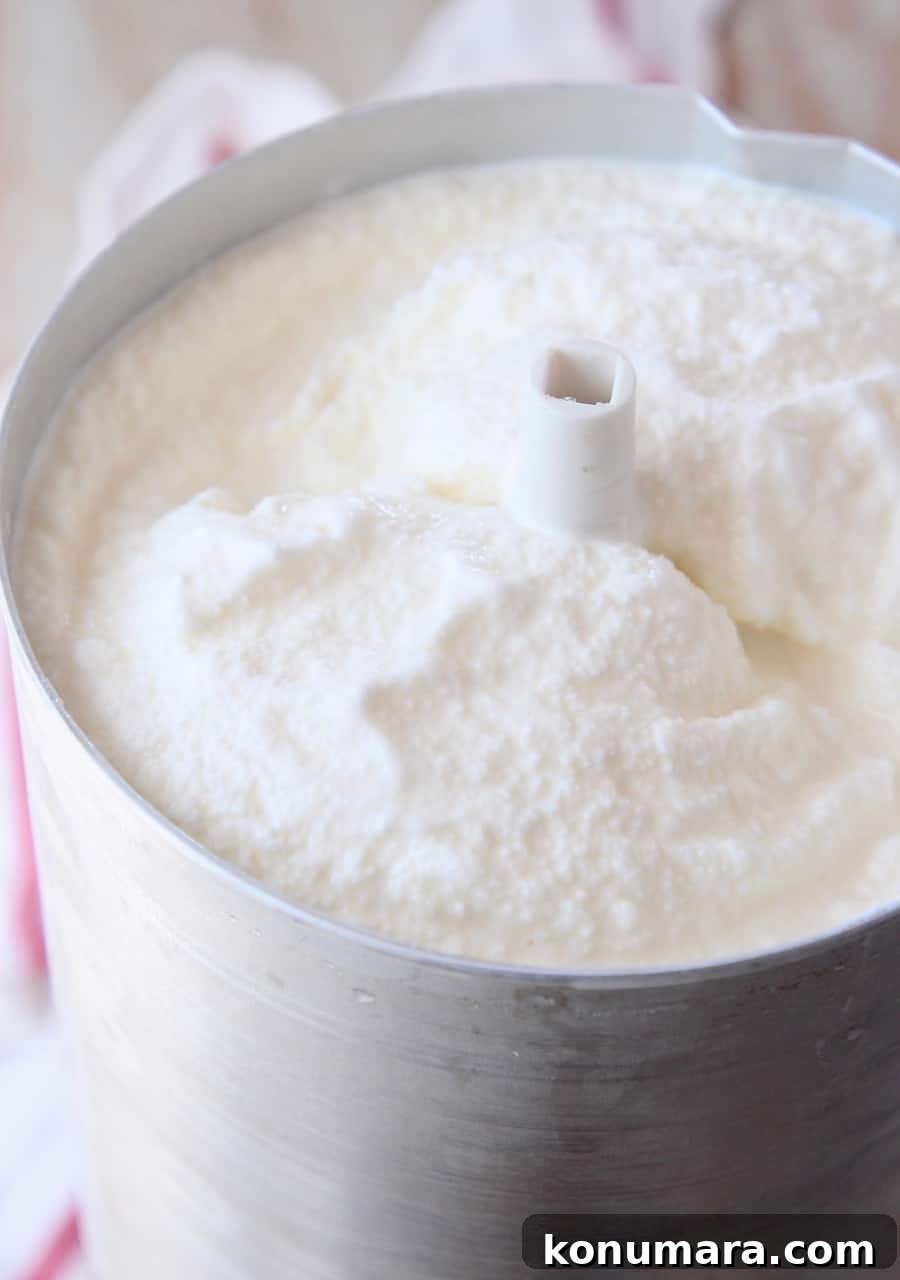
- As the machine churns, continue adding ice and rock salt around the canister to maintain a steady freeze. This helps the ice cream firm up more quickly and evenly.
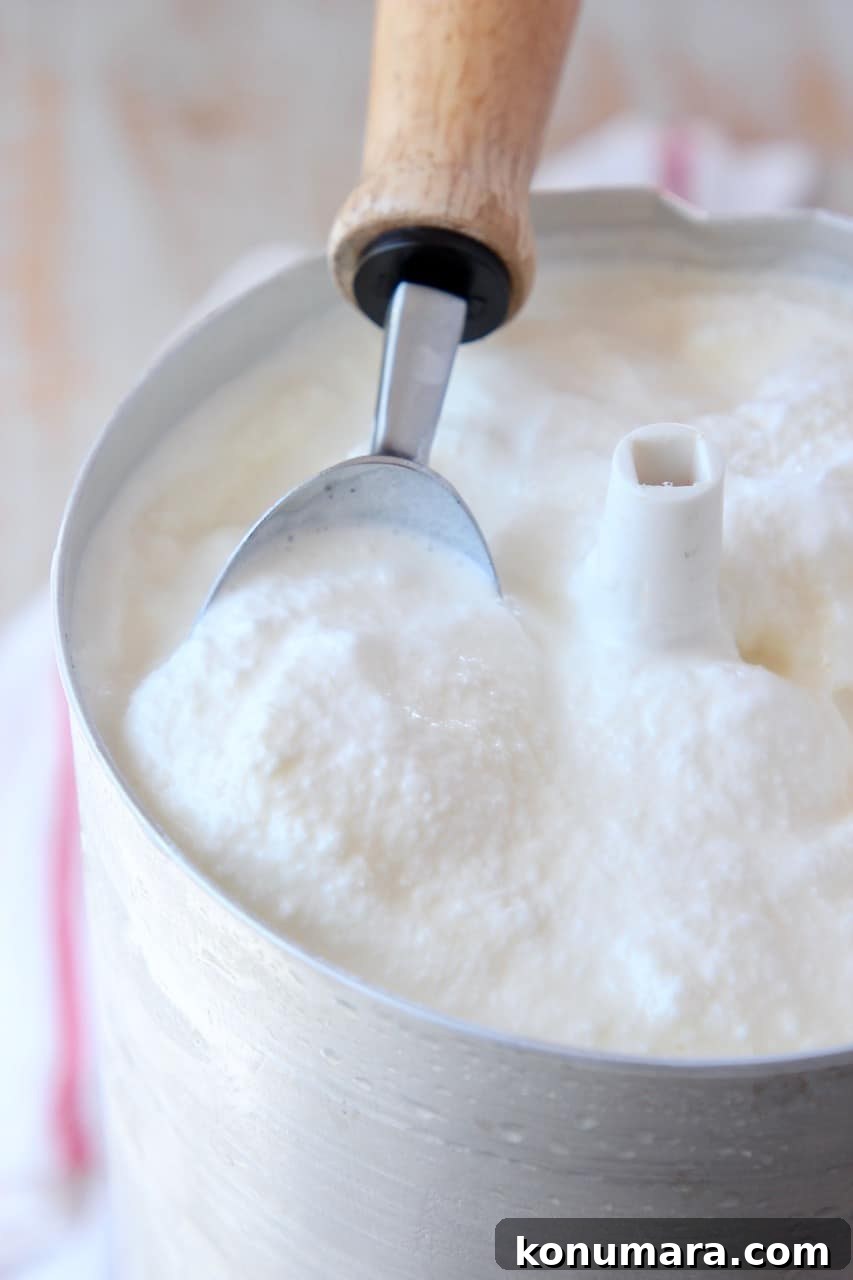
- When the churner slows or stops, the ice cream is ready to serve—creamy, smooth, and full of classic vanilla flavor.
Recipe tips
- Place the machine where meltwater can drain safely. As the ice around the canister melts, water will flow away; put the machine in the sink or outside so it won’t make a mess indoors.
- Don’t overfill the base. Many ice cream makers have an internal fill line—if yours does, only fill to that line. If not, follow the recipe measurements to ensure proper churning.
- Plan for 30–45 minutes of churning time. Most machines will need about half an hour to three-quarters of an hour to reach the right consistency. Check the ice and salt every 10–15 minutes and add more as needed.
- Vanilla bean paste works well. You can substitute vanilla bean paste for vanilla extract if you prefer a stronger, more aromatic vanilla profile.
- Use 2% or whole milk only. Avoid 1% or skim milk—higher milk fat helps produce a richer, creamier texture.
- You can make it ahead. Once the motor stops, keep the canister surrounded by ice and cover the machine with a towel; the ice cream will hold for up to two hours before serving.
- Ice cream rock salt is best. Using coarse rock salt for ice cream helps the freezing process; you can typically find it in grocery stores near other salts or baking supplies.
Toppings and serving ideas
This vintage-style vanilla ice cream is delicious on its own, but it also makes a fantastic base for sundaes and desserts. Here are some favorite ways to serve it:
- Serve a scoop over a warm brownie for an irresistible hot-and-cold dessert.
- Top with caramel sauce—homemade salted caramel pecan sauce is especially indulgent.
- Drizzle chocolate syrup, add whipped cream and a cherry for a classic sundae.
- Add sprinkles for a festive touch—chocolate or rainbow both work great.
- Fresh fruit such as sliced strawberries or peaches pairs beautifully with the vanilla base.
- Crushed candy like M&M’s, chopped Butterfinger, or small pieces of Reese’s cups add crunch and flavor.
- Mini chocolate chips or broken cookie pieces (such as Oreos) are a simple, tasty mix-in.
- For an extra treat, serve the ice cream on top of warm cookies like Nutella chocolate chip cookies.
More no-churn ice cream ideas
If you don’t have an ice cream maker, you can still enjoy homemade ice cream. No-churn recipes let you create rich, scoopable frozen desserts with minimal equipment and great results.
No Churn Strawberry Ice Cream
No Churn Salted Caramel Ice Cream
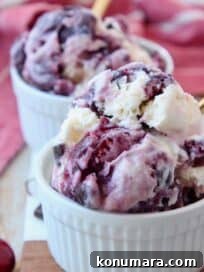
No Churn Cherry Garcia Ice Cream
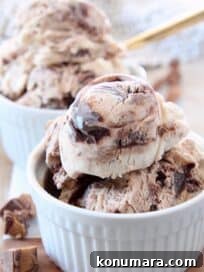
No Churn Moose Tracks Ice Cream
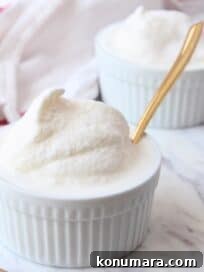
Homemade Vanilla Old Fashioned Ice Cream
36
scoops ice cream
15 minutes
45 minutes
1 hour
Whitney Bond
Ingredients
- 1 ½ cups granulated sugar
- 1 tablespoon vanilla extract
- 1 quart heavy whipping cream
- 4 large eggs, whisked
- ¾ gallon 2% or whole milk (12 cups)
- 12 pounds ice cubes
- 2 cups ice cream rock salt
Instructions
- Combine the sugar and vanilla extract in the base of the ice cream machine.
- Add the heavy whipping cream, stir to combine, and set aside.
- Heat 2 cups of milk in a medium saucepan over low heat until warm.
- Add the whisked eggs to the warm milk, whisking constantly so the eggs do not cook.
- Continue whisking over low heat for 2–3 minutes until slightly thickened, taking care not to let the mixture boil.
- Pour this custard into the ice cream machine base.
- Add the remaining milk to the base. If your machine has a fill line, only fill to that line.
- Stir, place the base in the machine, and put the lid on the canister.
- Surround the canister with ice and rock salt—start with about 4 pounds of ice and 1/2 cup of rock salt.
- Continue adding ice and salt while the machine runs. When the churning slows or stops, the ice cream is ready to enjoy.
Notes
- Place the machine where meltwater can drain, such as in a sink or outdoors.
- Yield: Approximately 18 cups of ice cream, or 36 standard 4 oz scoops.
- Storage: Leftover ice cream can be stored in the freezer for several months. Before serving, allow it to sit at room temperature for 10–15 minutes to soften slightly for easier scooping.
Nutrition Facts
Carbohydrates: 13 g (4%)
Protein: 4 g (8%)
Fat: 13 g (20%)
Saturated Fat: 8 g (40%)
Cholesterol: 62 mg (21%)
Sodium: 51 mg (2%)
Sugar: 12 g (13%)
Calcium: 109 mg (11%)
Did you make this recipe?
If you try it, consider sharing your experience so others can enjoy this family favorite.