
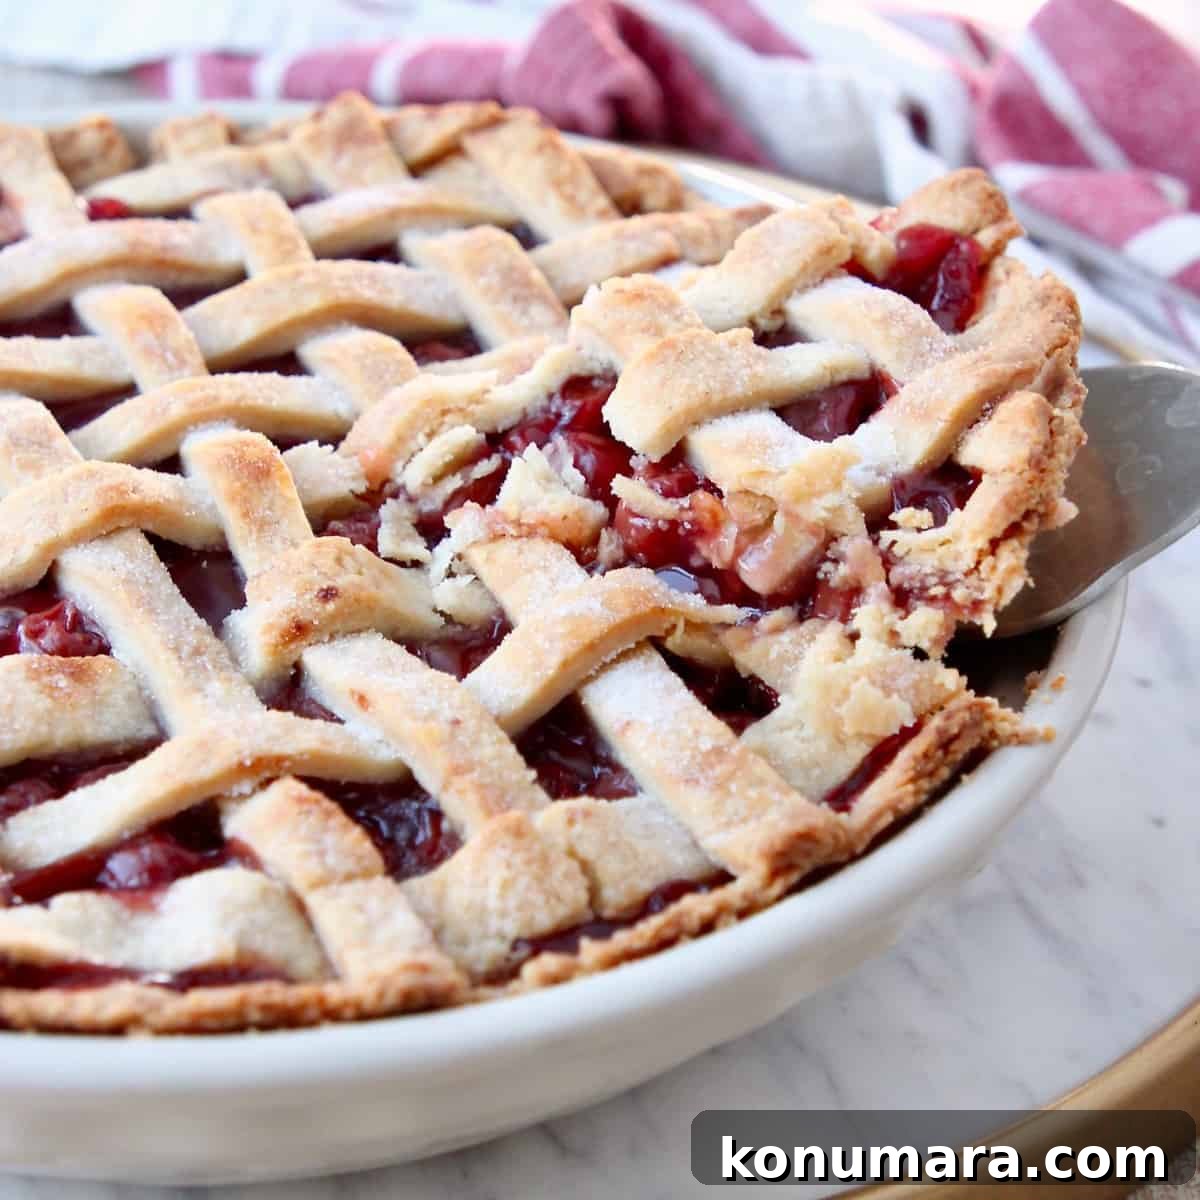
Mom’s Famous Homemade Cherry Pie Recipe
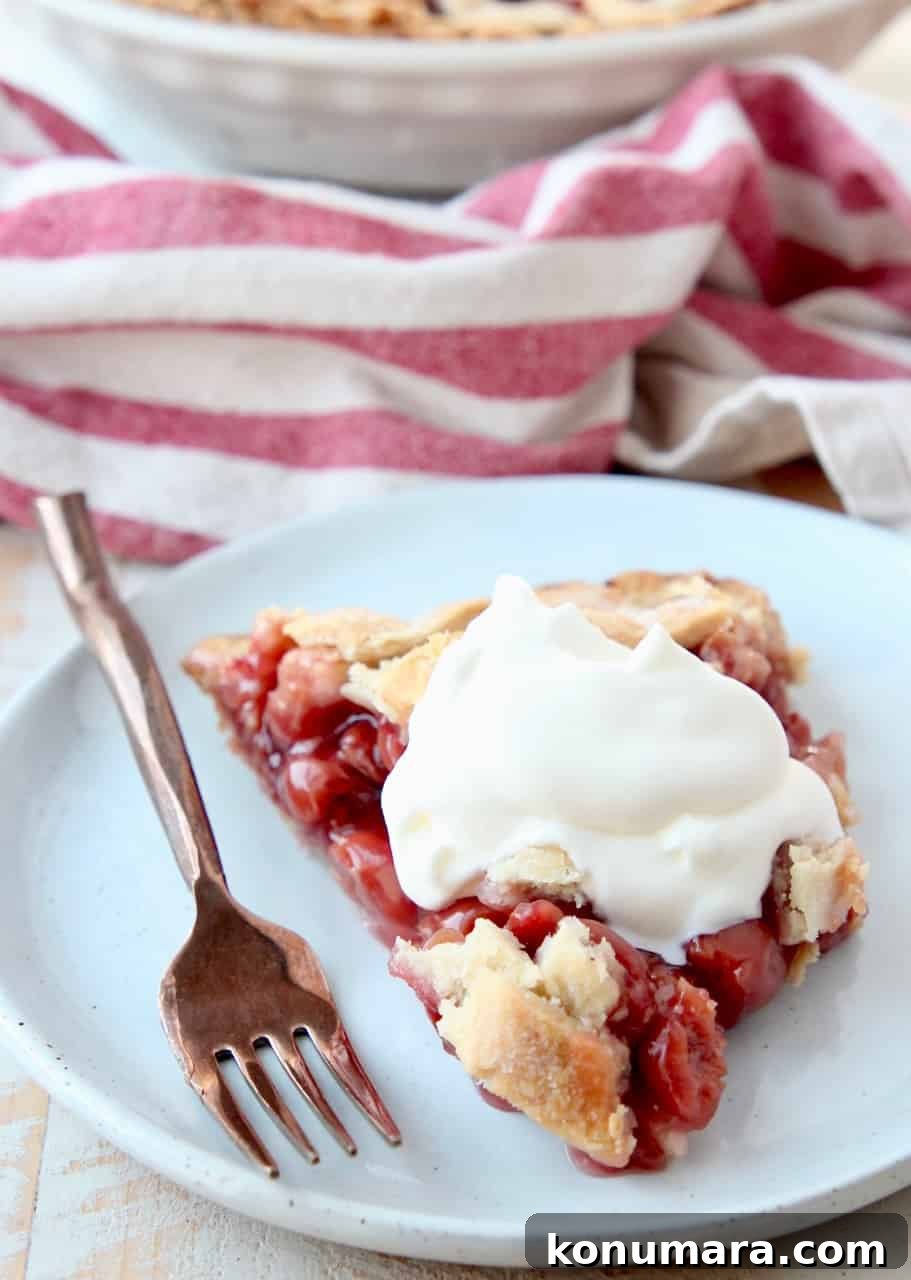
Mom’s Famous Cherry Pie starts with a tender, scratch-made crust and a sweet-tart cherry filling made from canned tart cherries. A simple woven lattice tops the pie for a classic, beautiful finish. This easy-to-follow recipe delivers a reliably delicious pie for holidays, birthdays, or any get-together.
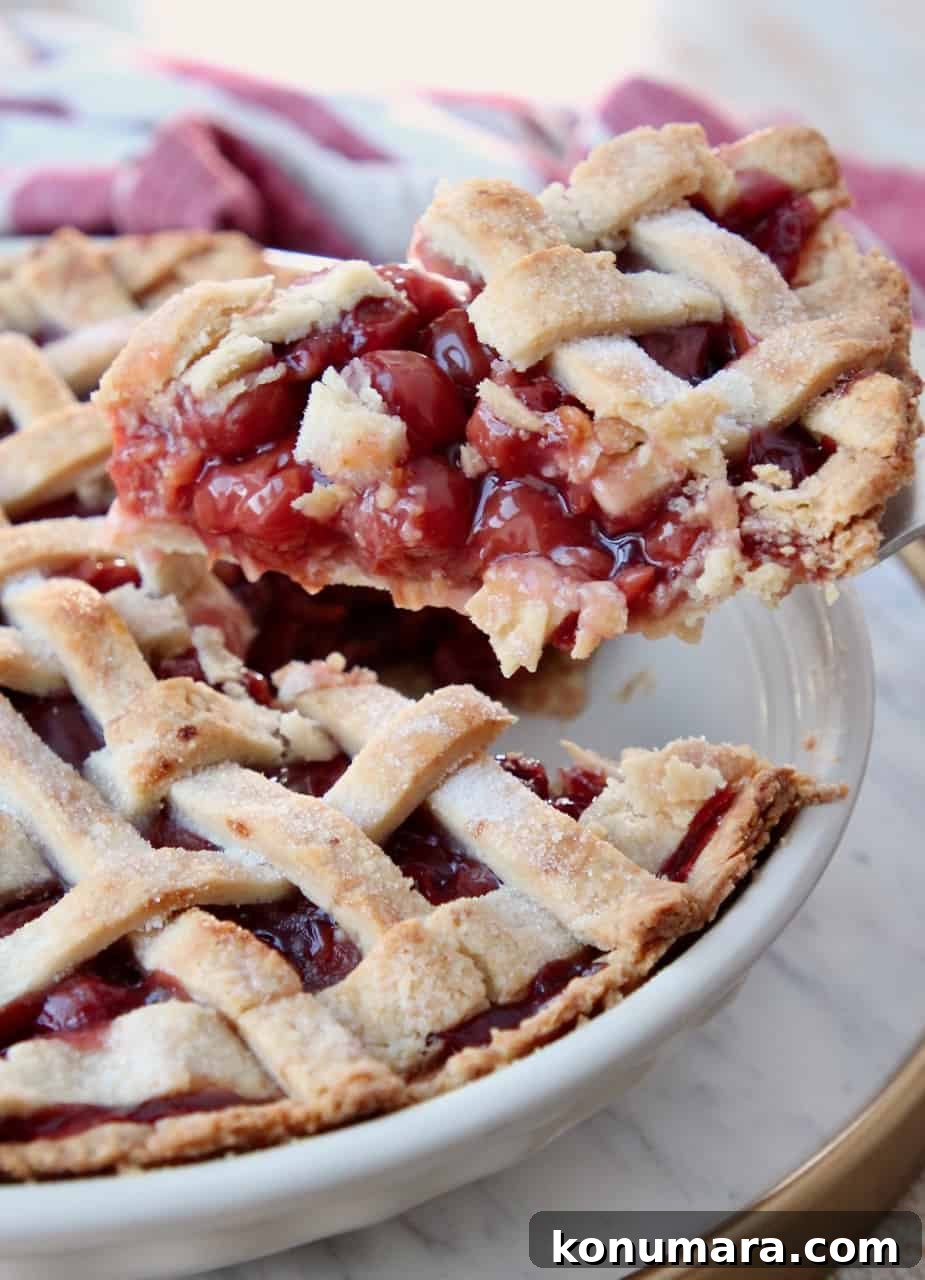
Table of contents
- Ingredients
- How to make the pie crust
- How to make the cherry pie filling
- How to make a lattice crust
- Tips and tricks
- What type of cherries should I use?
- More Bond family recipes to try
In our family my dad did much of the cooking, but my mom was the baker. From cookies and brownies to pies, she always had something sweet ready for holidays and gatherings. Of all her desserts, this cherry pie is a constant favorite—served year-round from Valentine’s Day through summer holidays and Thanksgiving.
The crust is the pie’s foundation: a simple oil-and-milk crust my grandmother taught my mom. The filling uses canned tart cherries for dependable flavor and the liquid from the can to thicken the filling properly. The result is a pie that slices cleanly and tastes both sweet and pleasantly tart.
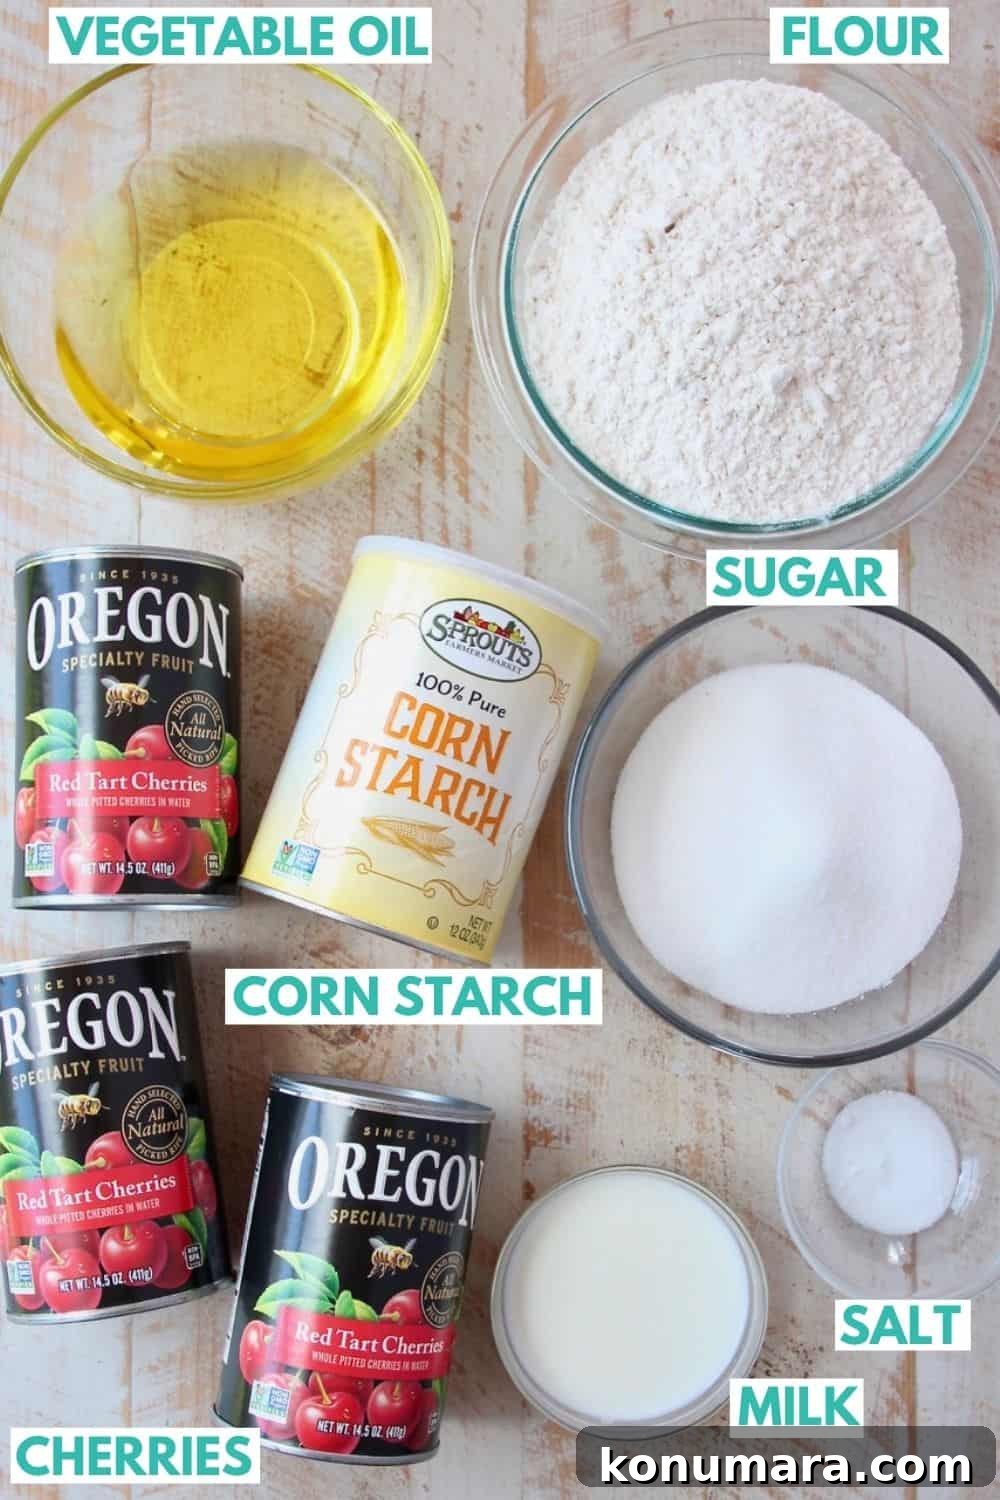
Ingredients
- Pie crust
- 3 cups all-purpose flour, sifted
- 3/4 cup vegetable oil
- 6 tablespoons milk (2% or whole)
- 1/4 teaspoon salt
- Filling
- 45 ounces pitted tart red cherries (about three 15-oz cans packed in water)
- 1 cup granulated sugar
- 1/4 cup cornstarch
- Topping & finishing
- 2 tablespoons unsalted butter, cut into small cubes
- 2 teaspoons granulated sugar (for sprinkling)
How to make the pie crust
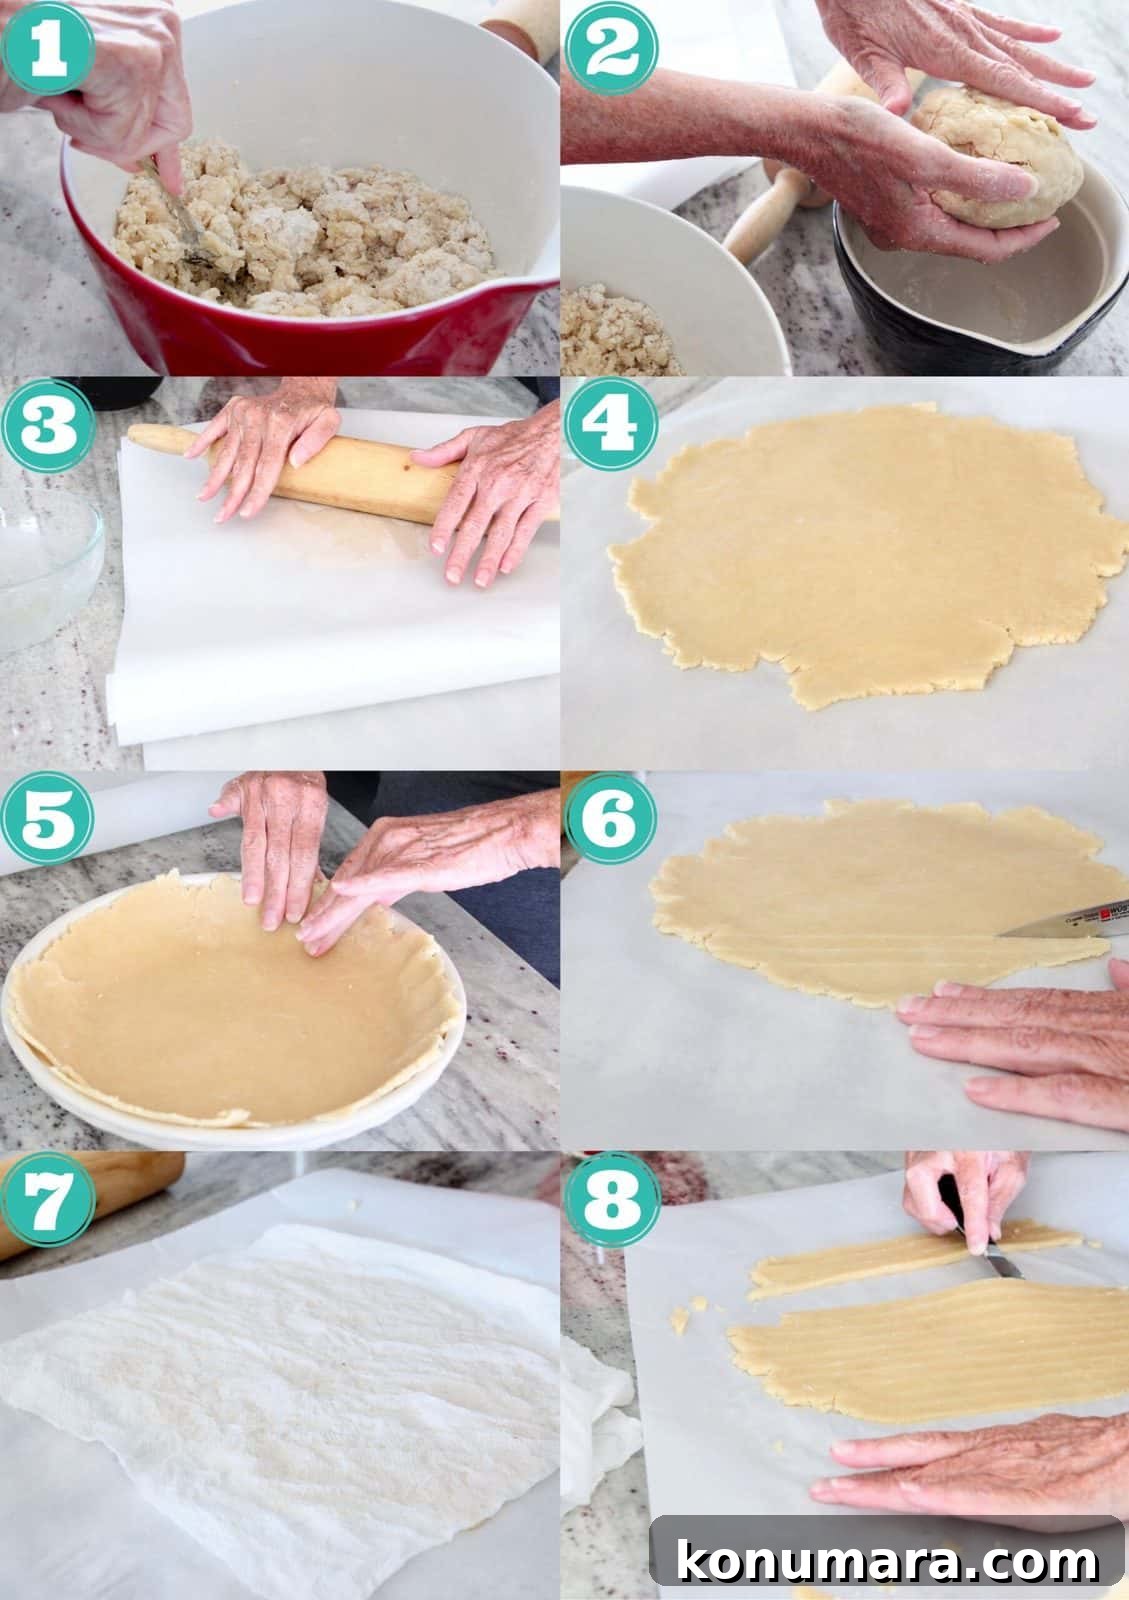
This no-fuss crust is sturdy yet tender and works for any double-crust pie. It’s quick to mix and easy to handle when rolled between sheets of wax or parchment paper.
- Sift the flour into a large bowl, stir in the salt.
- In a separate bowl, whisk together the oil and milk until combined.
- Pour the wet mixture into the dry ingredients and mix with a fork until the dough comes together. Use your hands to form it into two equal balls.
- Place one dough ball in an oiled bowl and set aside. On a floured sheet of wax or parchment paper, top with another sheet and roll the other half to about 1/4 inch thick.
- Gently press the rolled dough into a 9-inch pie pan, pressing into the sides to form the bottom crust.
- Roll the second half of dough to the same thickness and slice into 1/2-inch strips for the lattice top. Keep strips covered with a damp towel until ready to weave.
How to make cherry pie filling
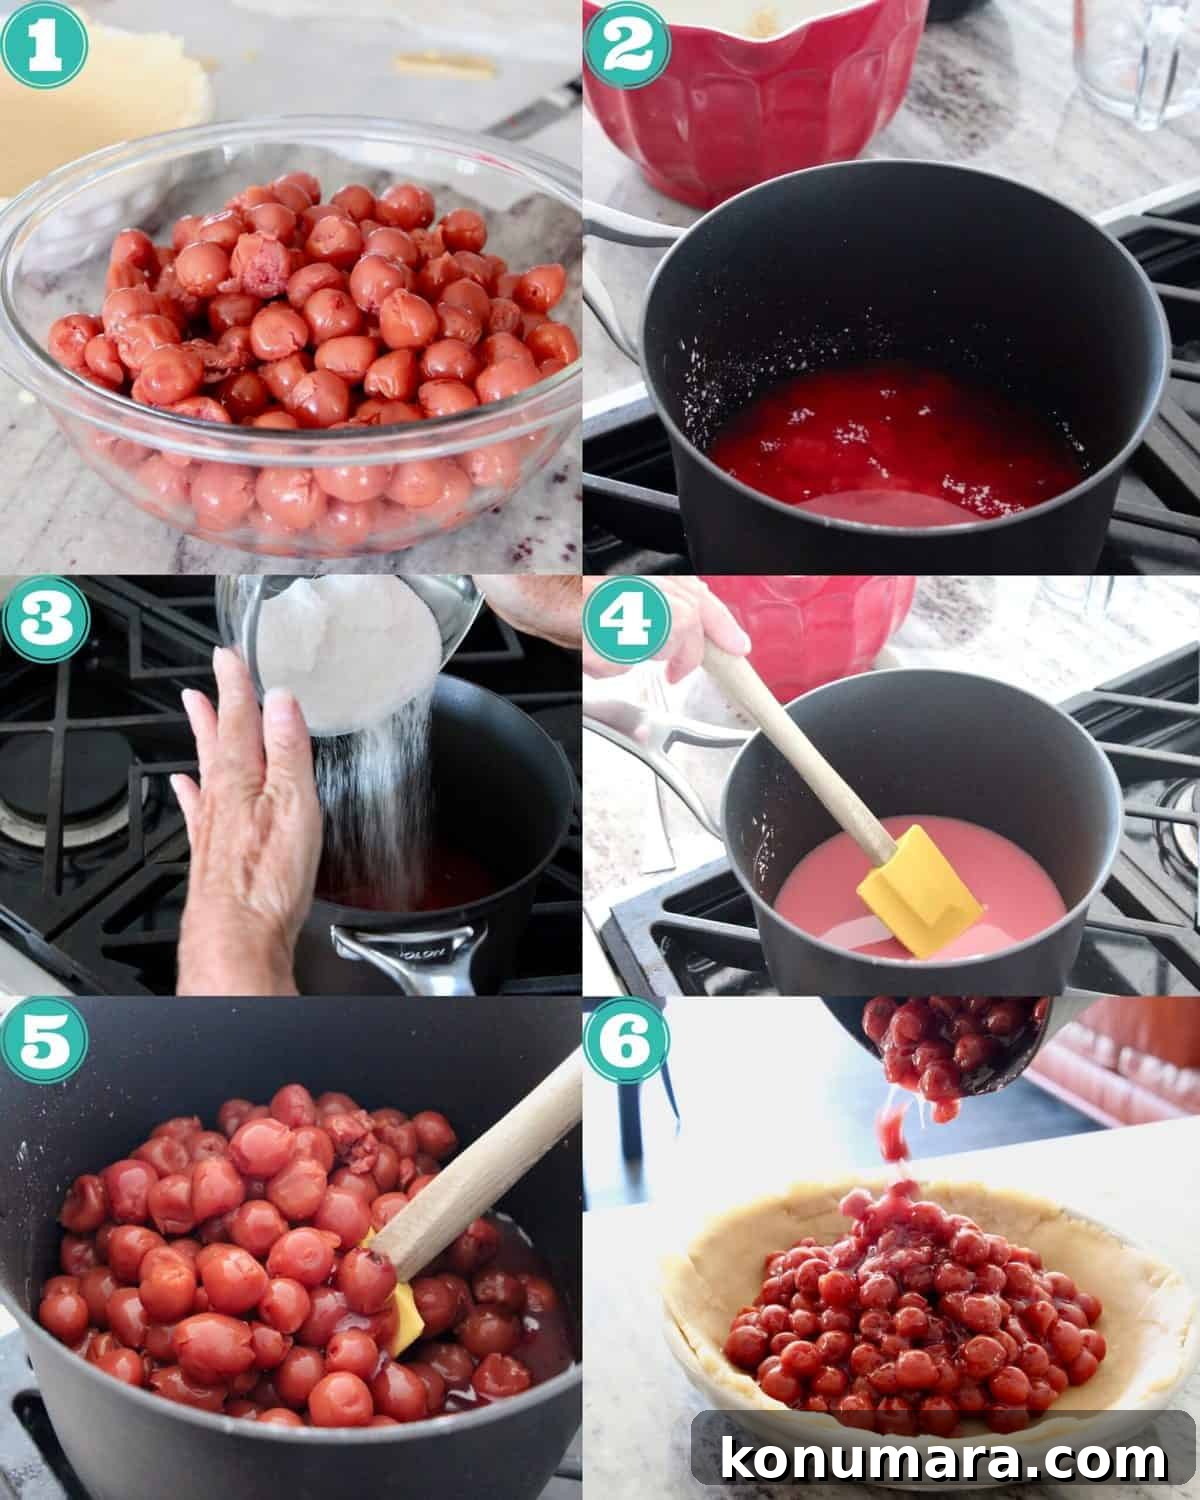
Using the juice from the cans ensures the filling sets correctly and has a consistent texture.
- Drain the cherries into a fine mesh strainer placed over a bowl, reserving 1 cup of the cherry juice. Set the drained cherries aside.
- In a medium saucepan over medium heat, combine the reserved cup of cherry juice with the cornstarch and sugar, whisking until smooth.
- Bring the mixture to a boil, then reduce heat slightly and stir constantly until it thickens. This can take 15–20 minutes—stirring patiently is essential to prevent a runny pie.
- Remove from heat and fold in the drained cherries. Stir to coat the cherries in the thickened syrup, then pour the filling into the prepared crust.
How to make a lattice crust
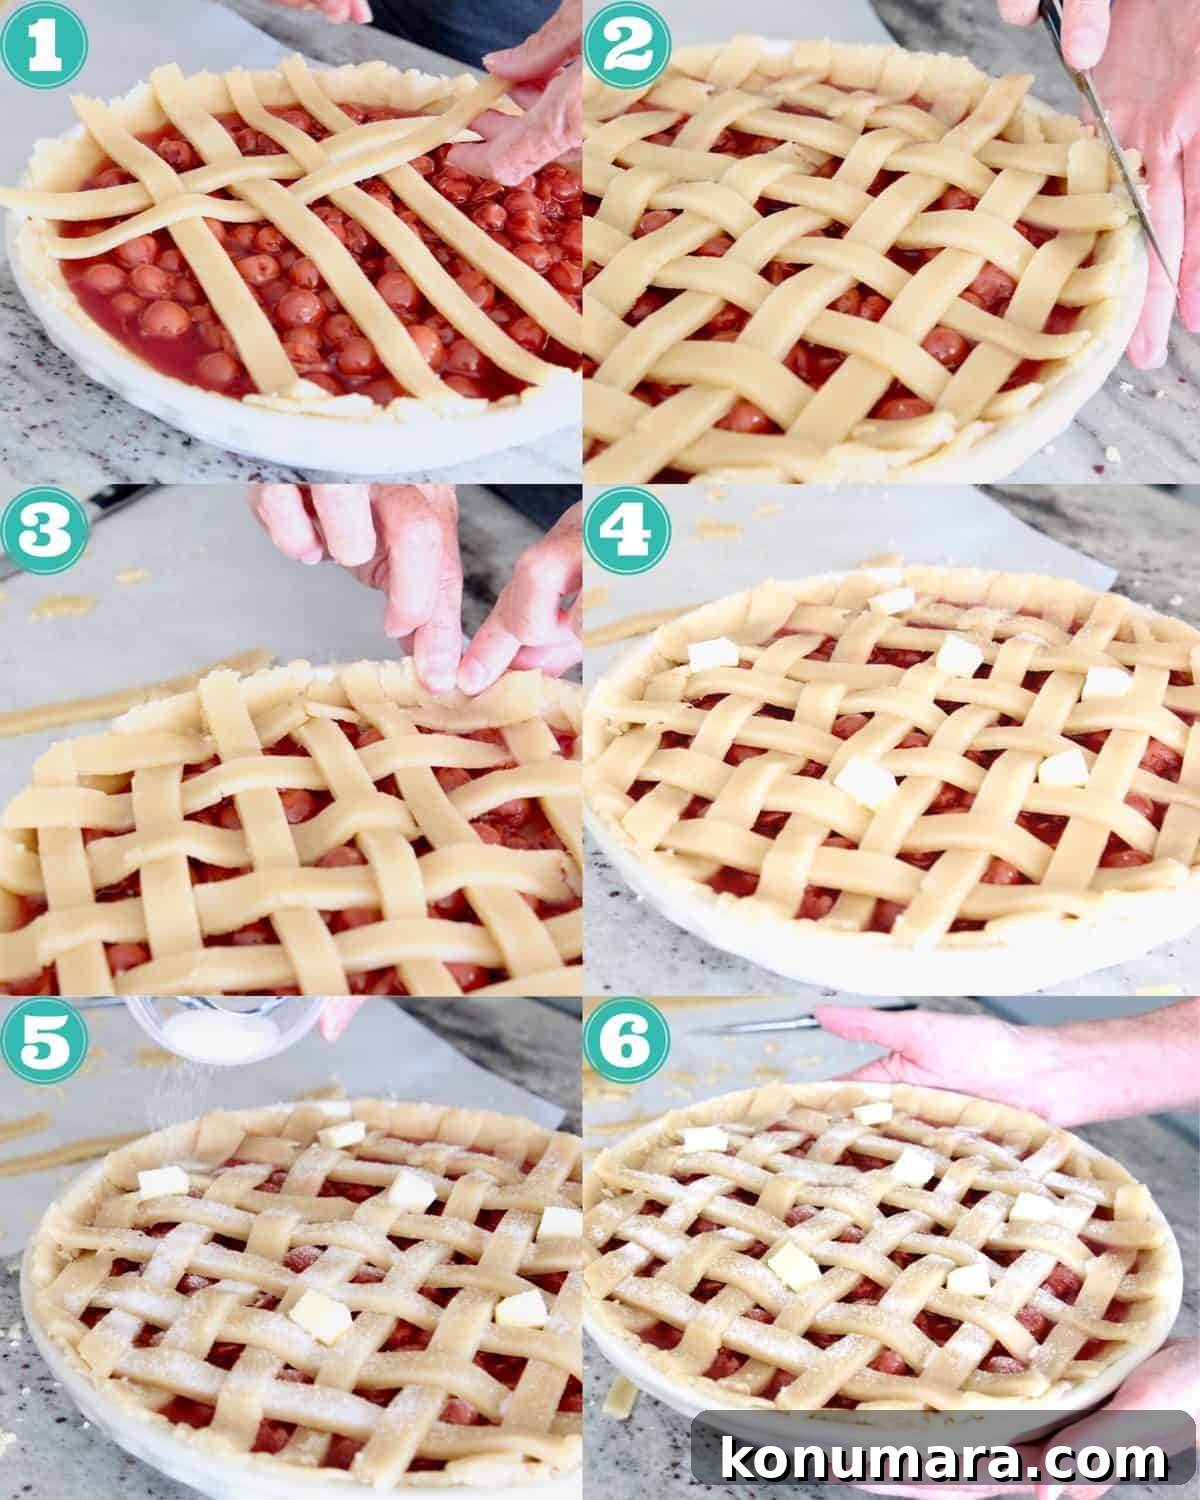
- Lay four of the longest strips across the center of the filled pie, spaced about 1/2 inch apart.
- Weave four more strips the opposite direction, lifting alternate strips to create an even lattice. Continue adding and weaving strips until the entire pie is covered.
- Trim excess dough at the edges and crimp the crust by pressing the top and bottom edges together with your fingers to seal.
- Dot the surface with small cubes of butter and sprinkle evenly with 2 teaspoons granulated sugar.
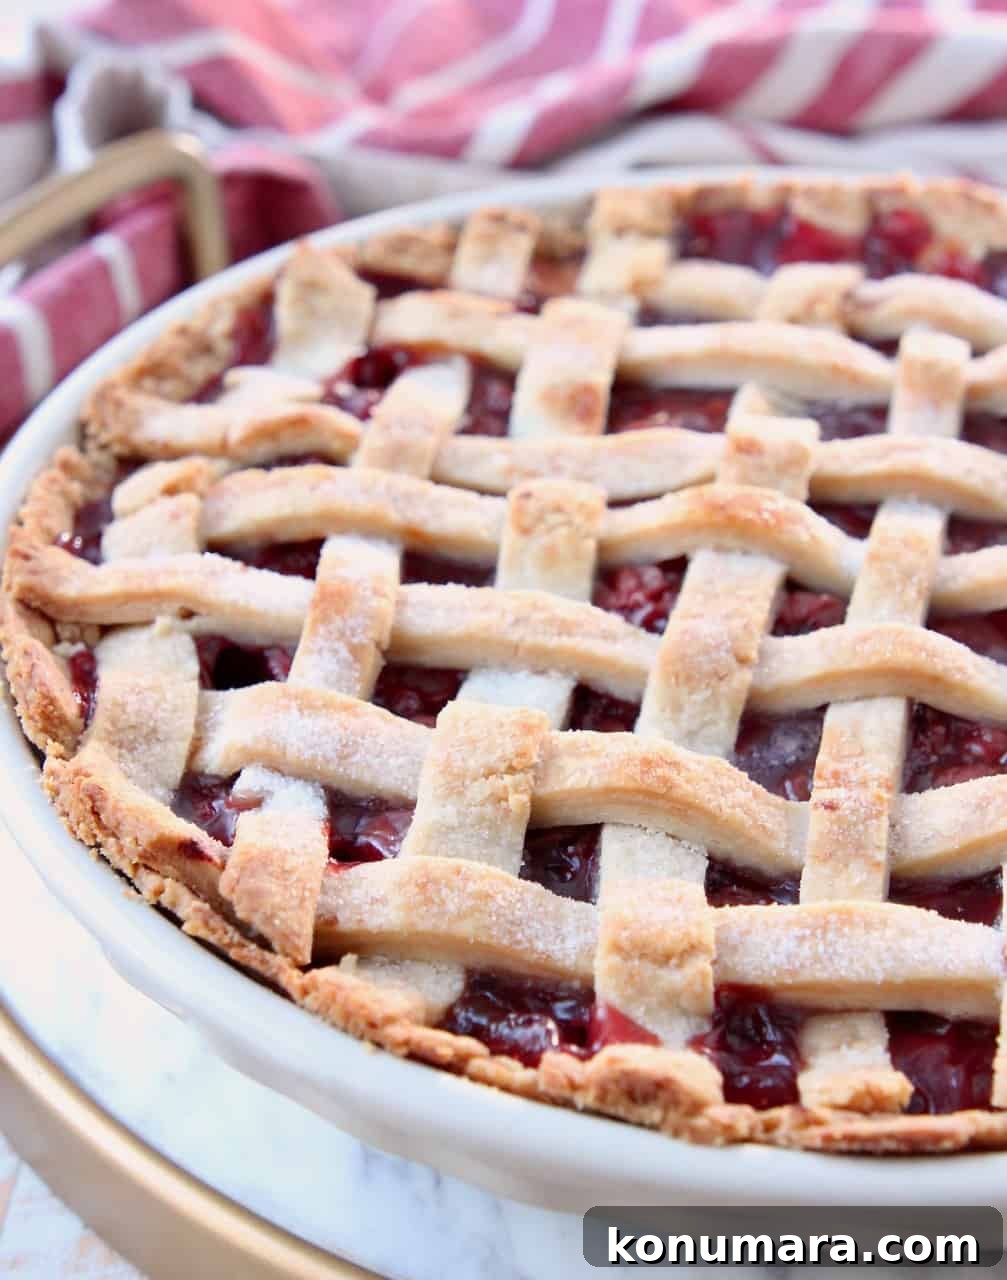
- Place the pie in the lower oven rack. Bake at 450°F for 10 minutes, then reduce the oven to 350°F and bake an additional 45 minutes, or until the crust is golden and filling is bubbling.
- To protect your oven, put a foil-lined baking sheet on the rack beneath the pie to catch any bubbling over.
Tips and tricks
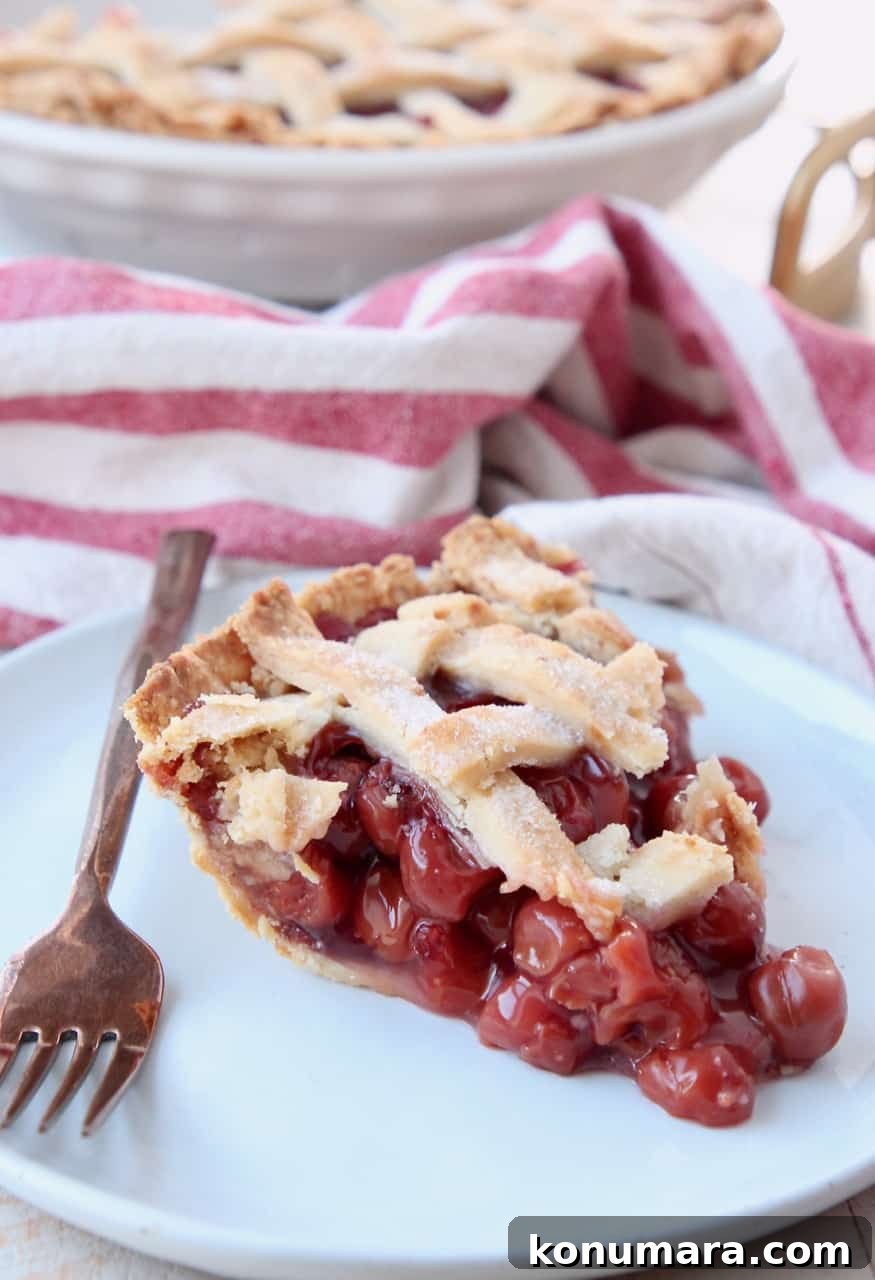
- Let the pie cool before slicing. Allow at least 1 hour, ideally 2–3 hours, so the filling sets and slices cleanly.
- Short on time? Use a store-bought refrigerated crust for the bottom and a second crust for the top. You can also skip the lattice and place a single top crust over the filling—trim and vent with a fork.
- Leftovers can be stored at room temperature, tightly covered, for up to 3 days.
- To freeze: bake the pie, cool completely, then wrap and freeze for up to 3 months. Thaw in the refrigerator for 24 hours, then bring to room temperature before serving.
- Make-ahead: prepare the filling and dough up to 2 days in advance and refrigerate separately until ready to assemble.
- Serve warm or at room temperature with whipped cream or a scoop of no-churn ice cream for an extra-special treat.
What type of cherries should I use?
This recipe is designed for canned red tart cherries packed in water. The liquid from the can is essential for the filling to thicken correctly.
- If using canned sweet dark cherries, reduce the added sugar in the filling to 1/2 cup and taste as you go.
- Fresh cherries won’t provide the can liquid this recipe relies on, so they are not recommended without altering the method.
- Frozen cherries often lose shape and release too much water when thawed; canned tart cherries give the best texture and flavor for this pie.
More Bond family recipes to try
If you enjoy this pie, try other family favorites like Dad’s famous baked beans, Mom’s strawberry pie, Meme’s chocolate pie, and Dad’s Captain Crunch chicken tenders.
Recipe summary
- Servings: 8 slices
- Prep time: about 45 minutes
- Cook time: about 55 minutes
- Total time: about 1 hour 40 minutes (plus cooling)
Notes
- Always place a foil-lined sheet beneath the pie while baking to catch any overflow.
- Store-bought crusts are an easy shortcut.
- Filling and dough can be made ahead and refrigerated up to two days before assembling.
- Do not substitute fresh or frozen cherries without adapting the recipe to add liquid for thickening.
Nutrition (approximate per slice)
Calories: 614 kcal | Carbohydrates: 97 g | Protein: 6 g | Fat: 24 g | Sugar: 27 g