No Churn Homemade Chocolate Ice Cream
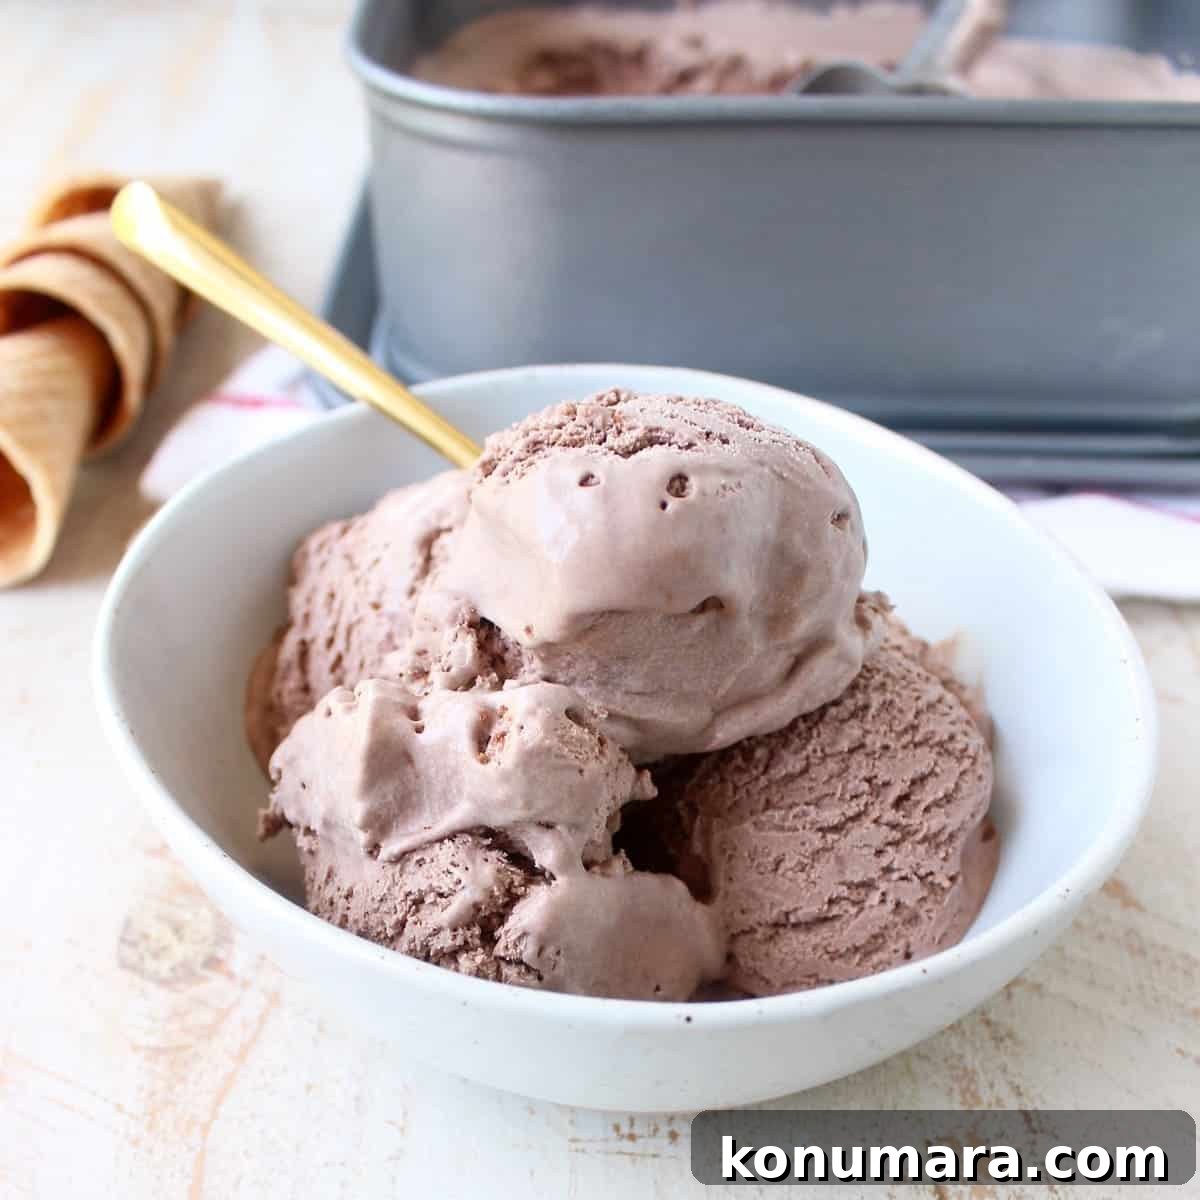
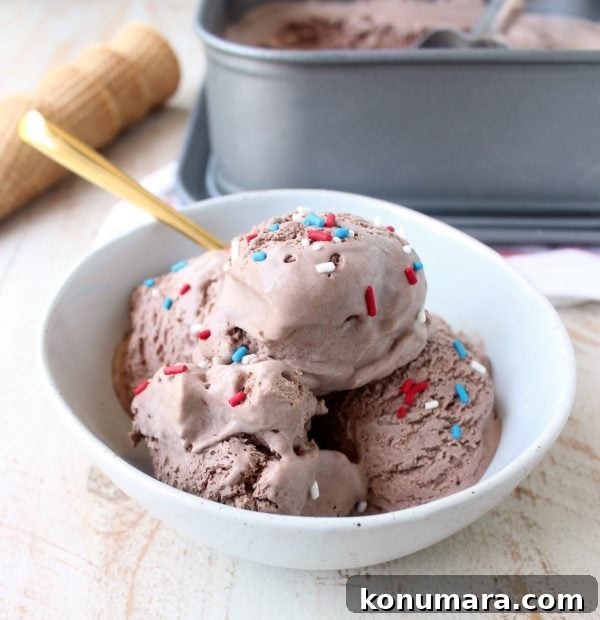
Rich, creamy chocolate ice cream made without an ice cream machine. This simple no-churn recipe requires just a few ingredients and a little hands-on time.
Summer is the perfect season for homemade ice cream, and making it without an ice cream maker is easier than you might think. This no-churn chocolate ice cream is ultra-creamy and chocolatey, yet incredibly simple: whisk the chocolate base, whip the cream, fold together, and freeze. The result is a scoopable, indulgent treat that rivals store-bought premium ice creams.
Description
This no-churn chocolate ice cream uses sweetened condensed milk and whipped heavy cream as the base. Unsweetened cocoa powder provides the deep chocolate flavor, while a touch of vanilla and sea salt enhance the richness. The method produces a smooth, scoopable texture with minimal effort—no special equipment required. It’s an ideal base for swirls, mix-ins, or flavor adaptations such as salted caramel ribbons, chopped cookies, or toasted nuts.
Ingredients
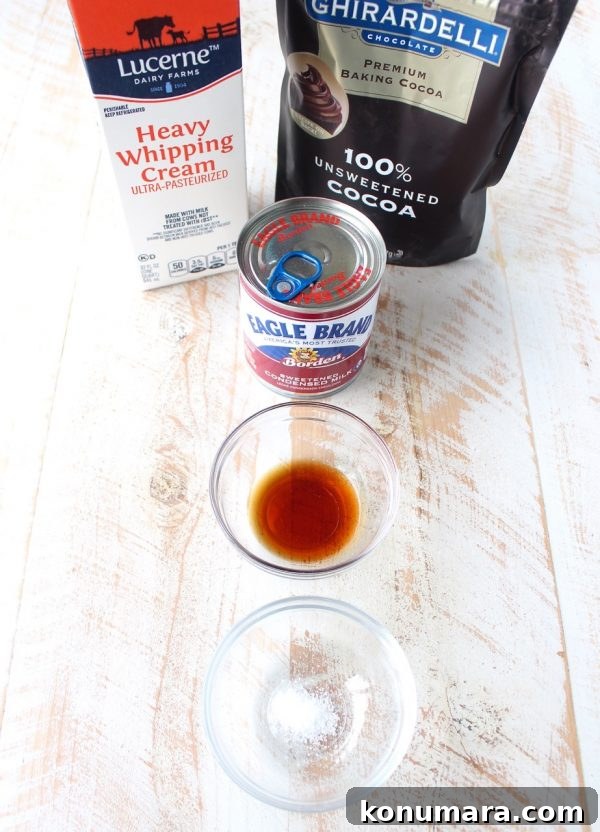
- 1 (14 oz) can sweetened condensed milk
- 1/2 cup unsweetened natural cocoa powder
- 1 teaspoon vanilla extract
- 1/4 teaspoon sea salt
- 2 cups heavy cream, cold
Instructions
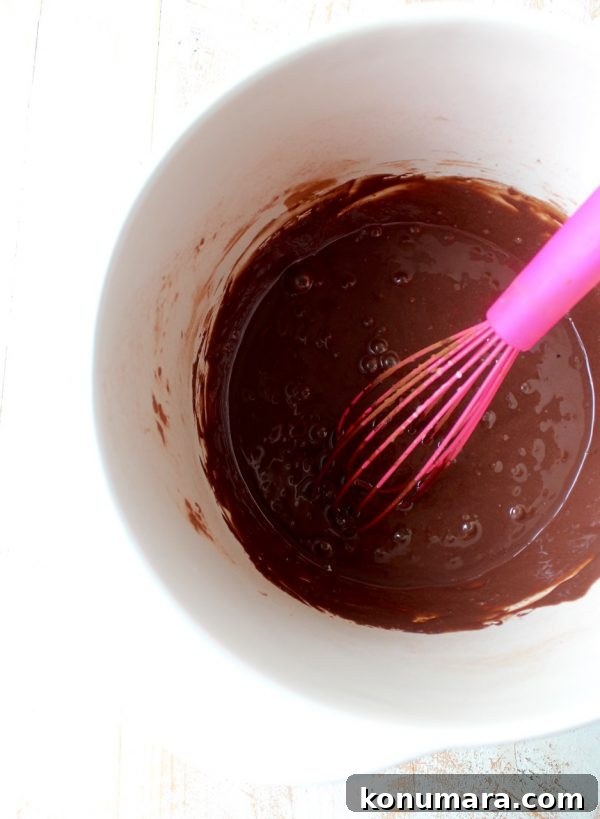
- In a large bowl, whisk together the sweetened condensed milk, cocoa powder, vanilla extract, and sea salt until smooth and fully combined. Make sure there are no lumps of cocoa powder.
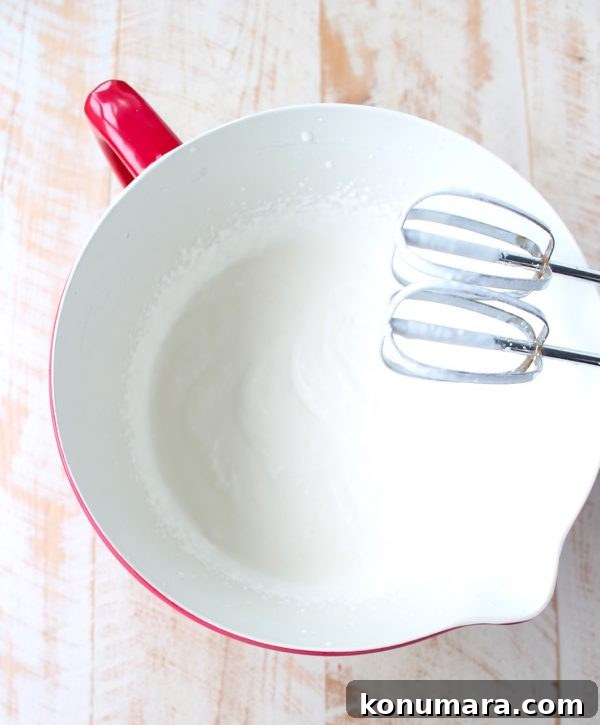
- In a separate chilled bowl, whip the cold heavy cream with an electric mixer on medium-high speed until firm peaks form, about 3 minutes. The cream should hold its shape but still be light and airy.
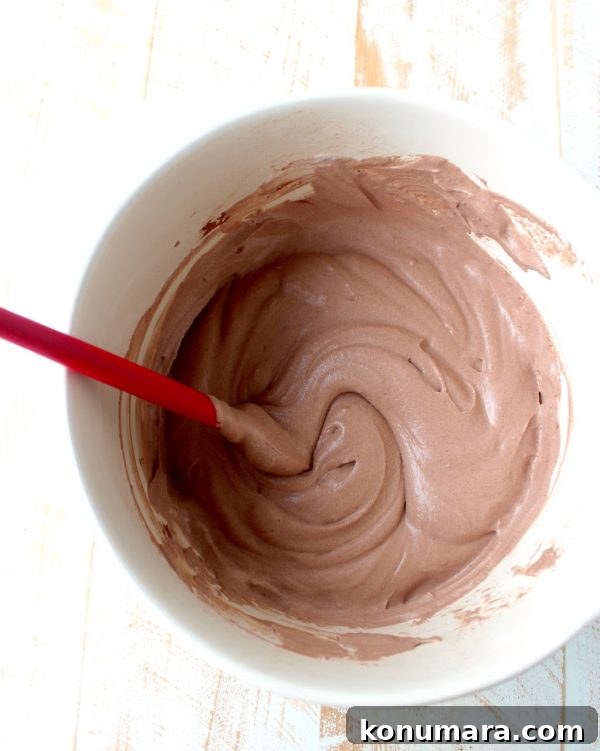
- Gently fold the chocolate condensed milk mixture into the whipped cream using a rubber spatula. Fold carefully until the mixture is uniform in color and texture—avoid overmixing to keep the ice cream light and airy.
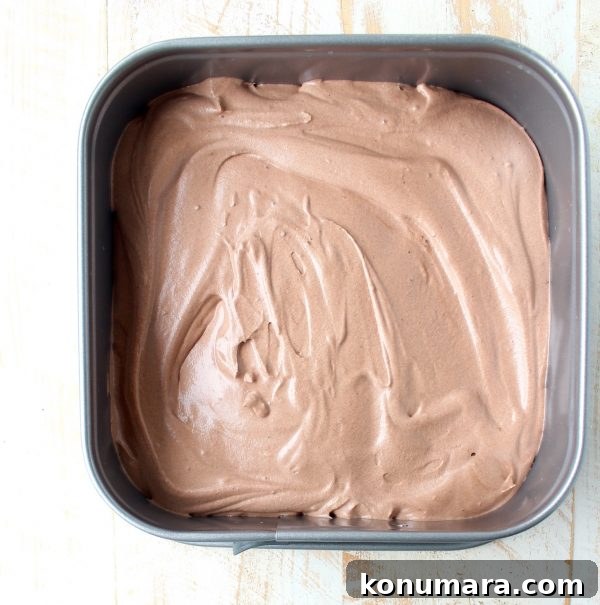
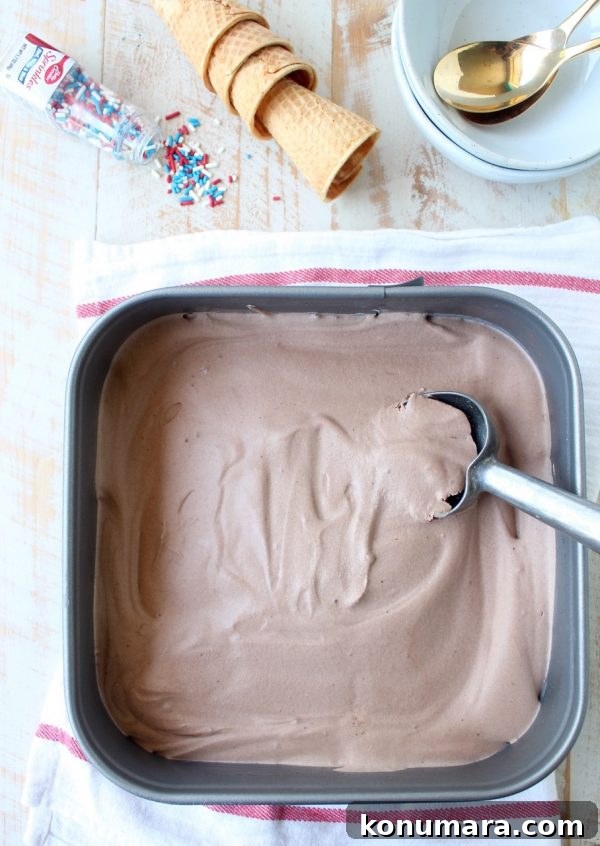
- Pour the combined mixture into a 2-quart freezer-safe container. Smooth the top, cover tightly, and freeze for at least 5 hours or overnight until firm.
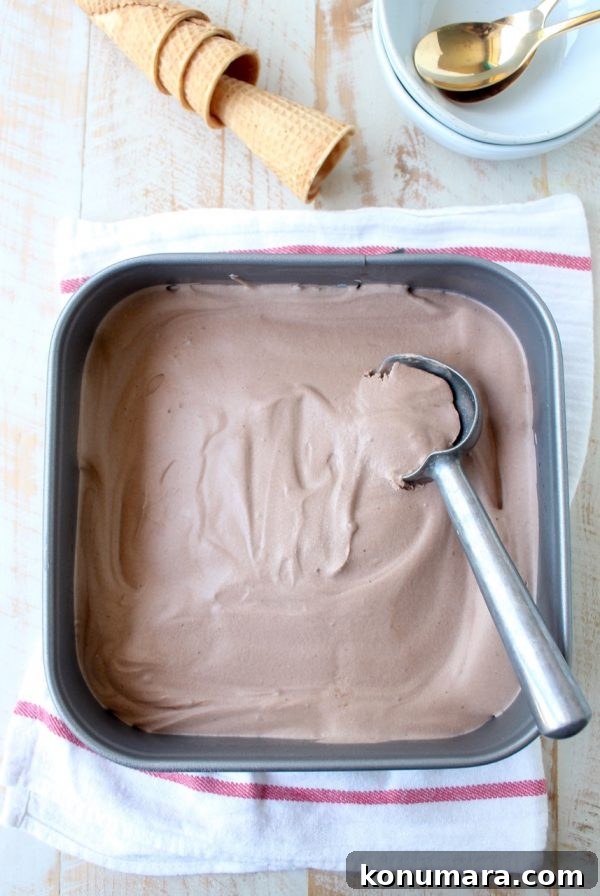
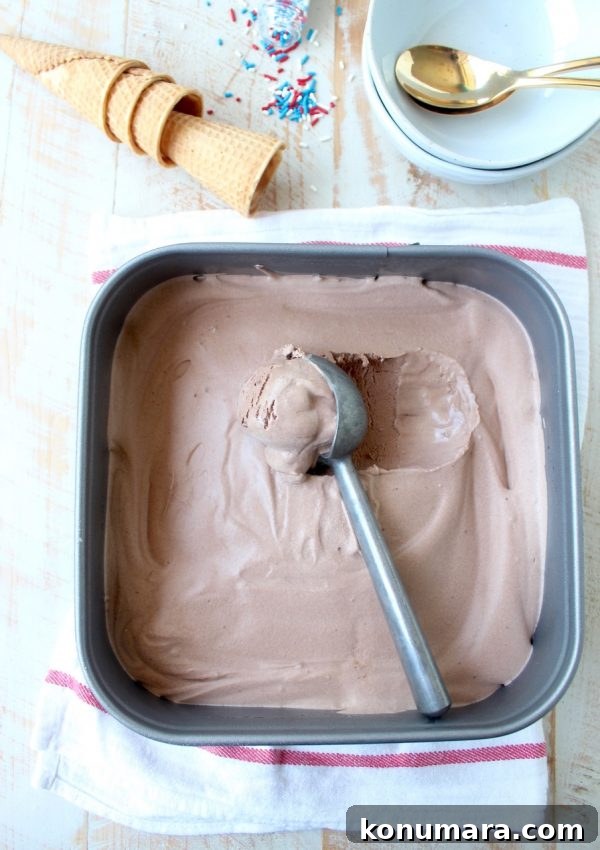
- When ready to serve, let the container sit at room temperature for a few minutes to soften slightly before scooping.
Tips for Success
- Use cold heavy cream straight from the refrigerator so it whips up more easily and holds air for a light texture.
- For a deeper chocolate flavor, try using a high-quality natural cocoa powder. Do not substitute Dutch-processed cocoa without adjusting leavening in other recipes—here it’s fine, but flavor and acidity can vary.
- Fold gently to retain as much air as possible from the whipped cream; this keeps the ice cream creamy rather than dense.
- If adding mix-ins (chocolate chips, cookie pieces, or nuts), fold them in just before transferring the mixture to the freezer to keep pieces evenly distributed.
Serving Ideas & Variations
- Serve with warm chocolate sauce or caramel for an extra decadent dessert.
- Stir in a swirl of peanut butter or Nutella for a flavor twist.
- Add crushed graham crackers and marshmallow swirl for a s’mores-inspired version.
- Top with toasted nuts, shaved chocolate, or flaky sea salt to enhance texture and flavor contrast.
Storage
Store the ice cream in an airtight container in the freezer for up to two weeks for best texture and flavor. Press a piece of plastic wrap directly onto the surface before sealing the lid to minimize ice crystals.
Nutrition Facts (approximate per scoop)
- Calories: 252 kcal
- Carbohydrates: 21 g
- Protein: 4 g
- Fat: 18 g (Saturated Fat: 11 g)
- Sugar: 18 g
- Sodium: 106 mg
Final Notes
This no-churn chocolate ice cream is a quick, reliable way to enjoy homemade frozen dessert without specialized equipment. With a simple base and endless possibilities for mix-ins and toppings, it’s a flexible recipe perfect for summer gatherings or a simple treat at home. Try one of the suggested variations or create your own signature flavor.