
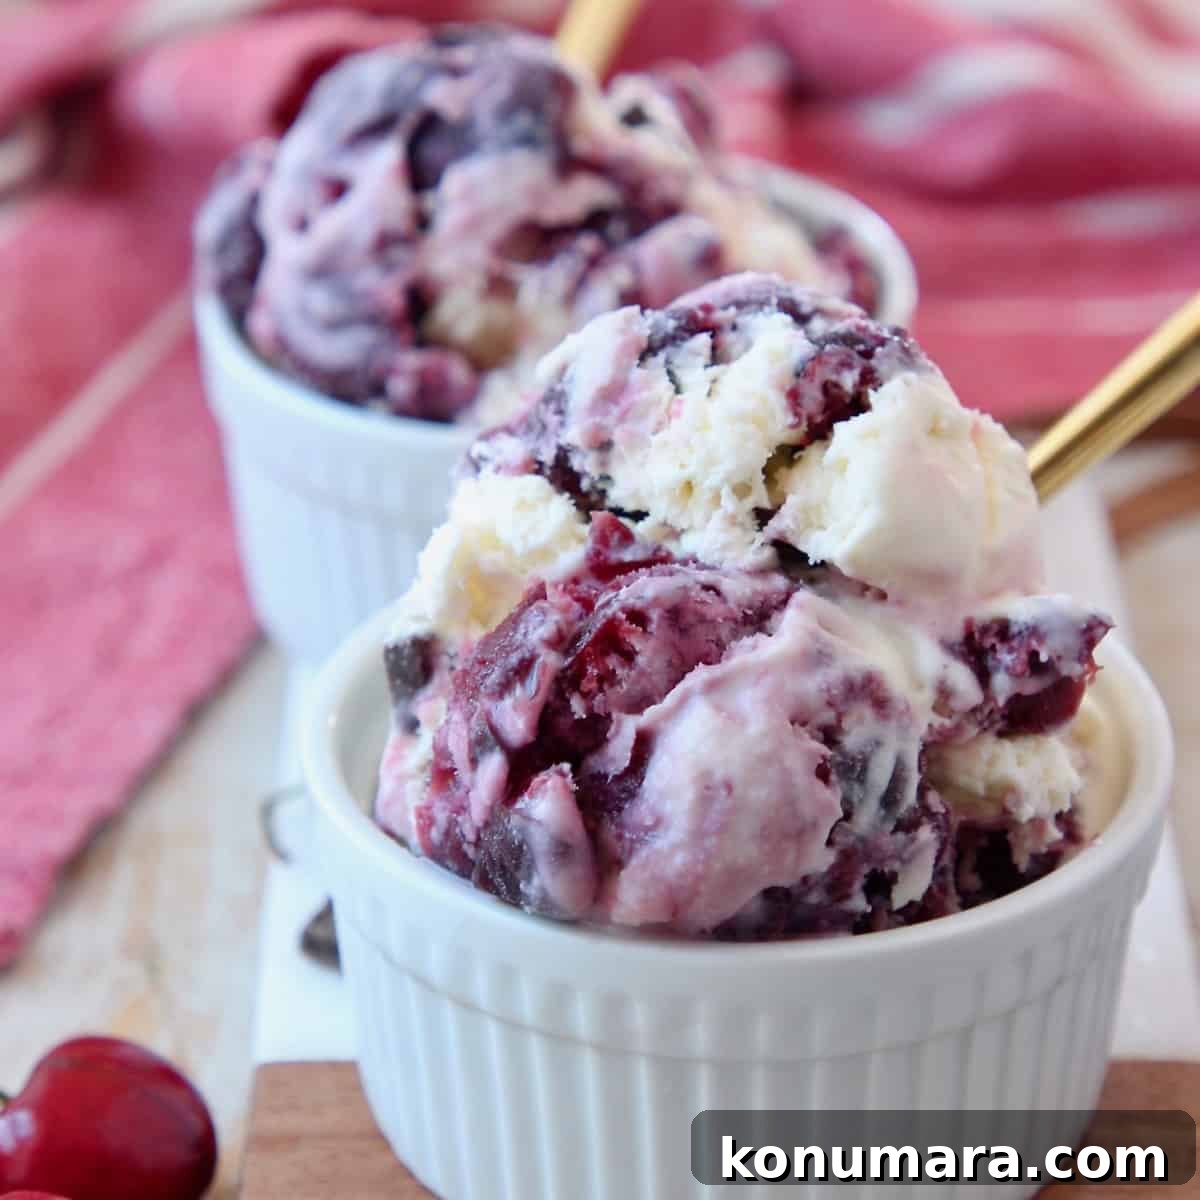
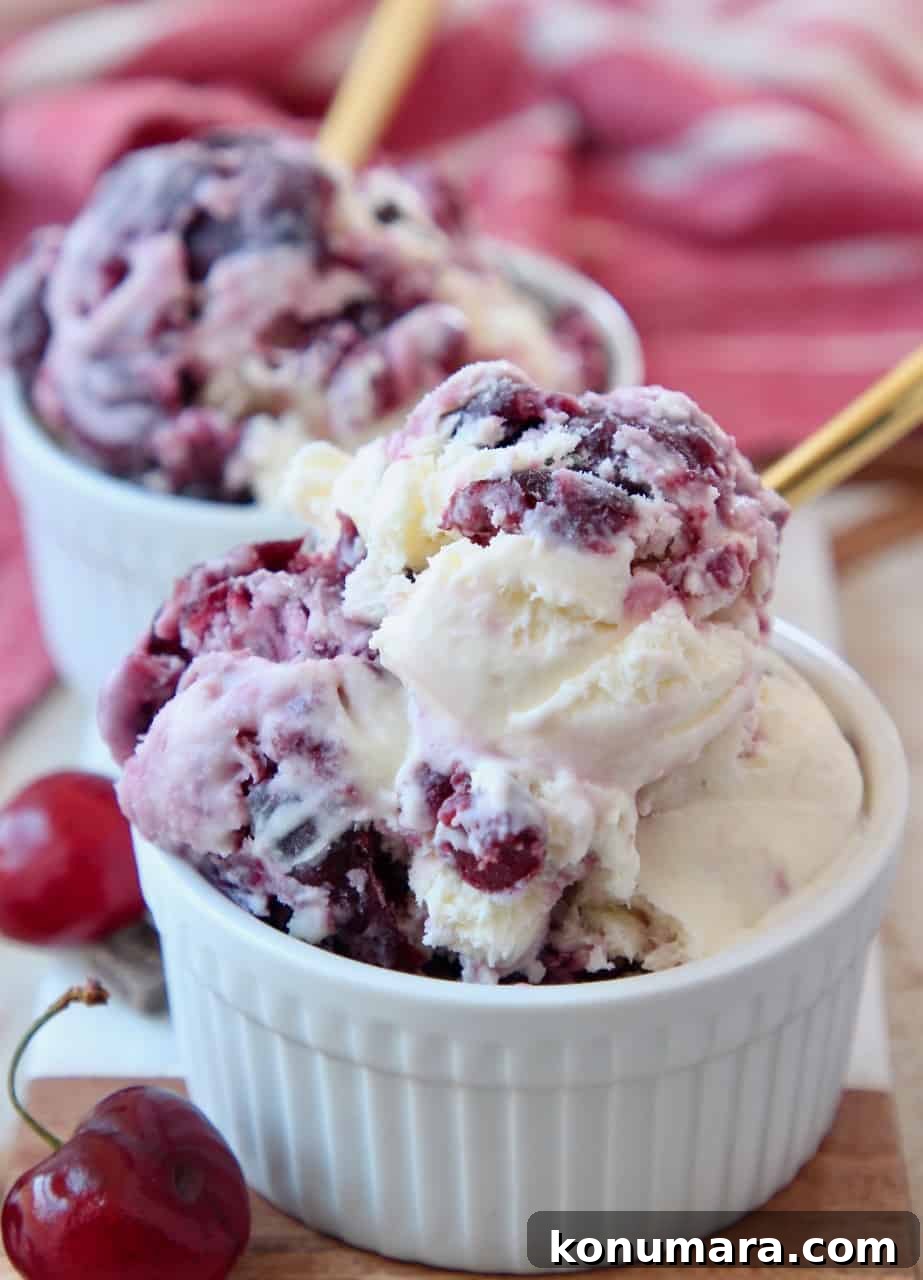
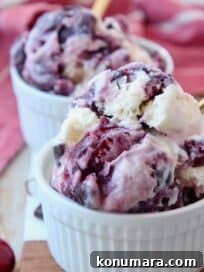
Make a homemade version of Ben & Jerry’s beloved Cherry Garcia Ice Cream without an ice cream maker. This easy no-churn recipe takes about 15 minutes to prepare and yields a creamy base swirled with a cooked cherry ribbon and studded with dark chocolate chunks—just like the classic.
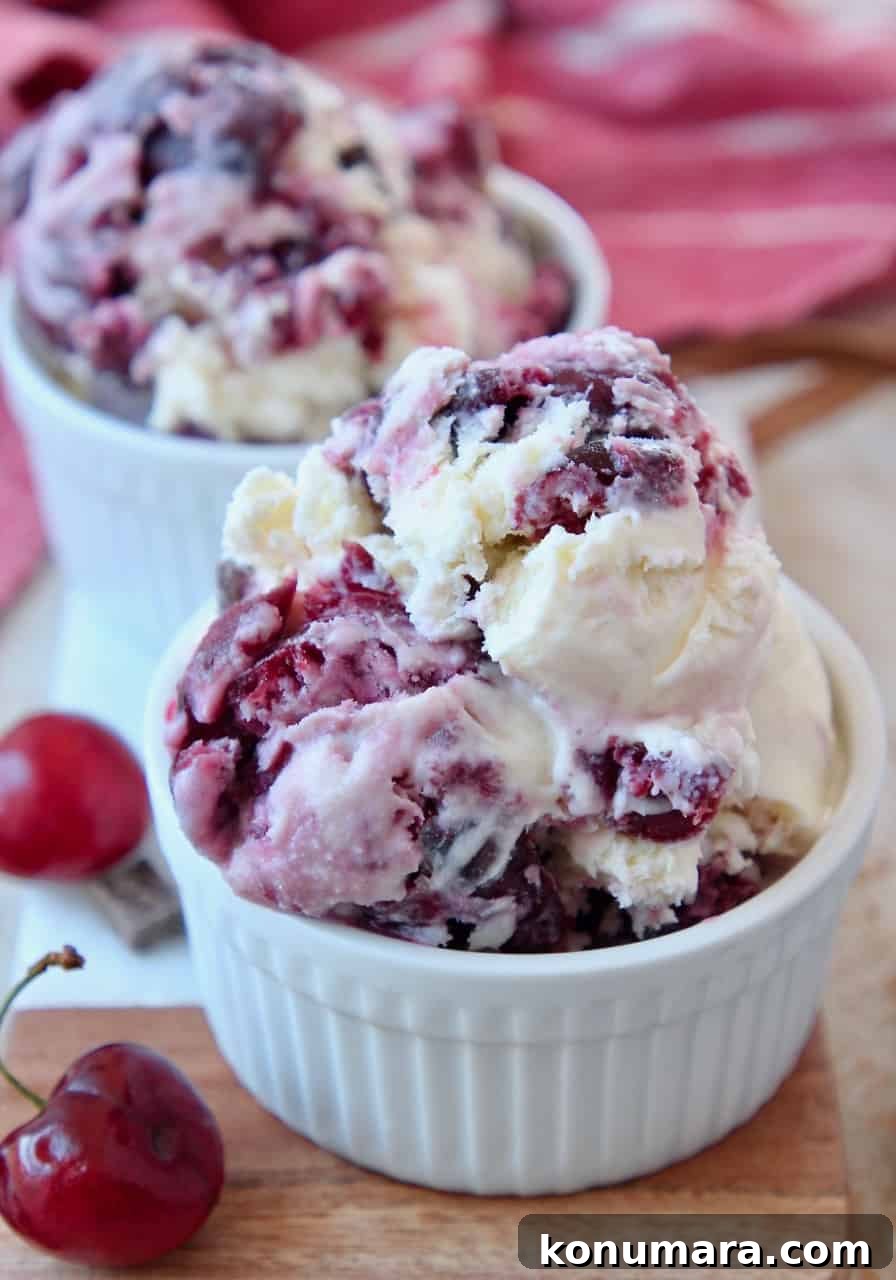

Cherry and chocolate make the best flavor combo!
If you want a signature dessert, homemade ice cream is a fantastic choice. Over the years I’ve recreated many favorite flavors at home—everything from Moose Tracks to Peanut Butter and classic Strawberry—always using a simple no-churn method so you don’t need an ice cream maker.
Ben & Jerry’s Cherry Garcia was created in tribute to guitarist Jerry Garcia and remains one of the most popular cherry-and-chocolate ice creams. For this copycat version I focused on getting both bright cherry flavor and satisfying chocolate texture in every spoonful.
Rather than adding plain cherries, I cook them down with a little sugar and cornstarch to form a glossy cherry swirl. That small step gives you both whole cherry pieces and a silky cherry ribbon that blends beautifully with the creamy base and dark chocolate chunks. The prep takes just 15 minutes, and then the ice cream freezes while you wait.

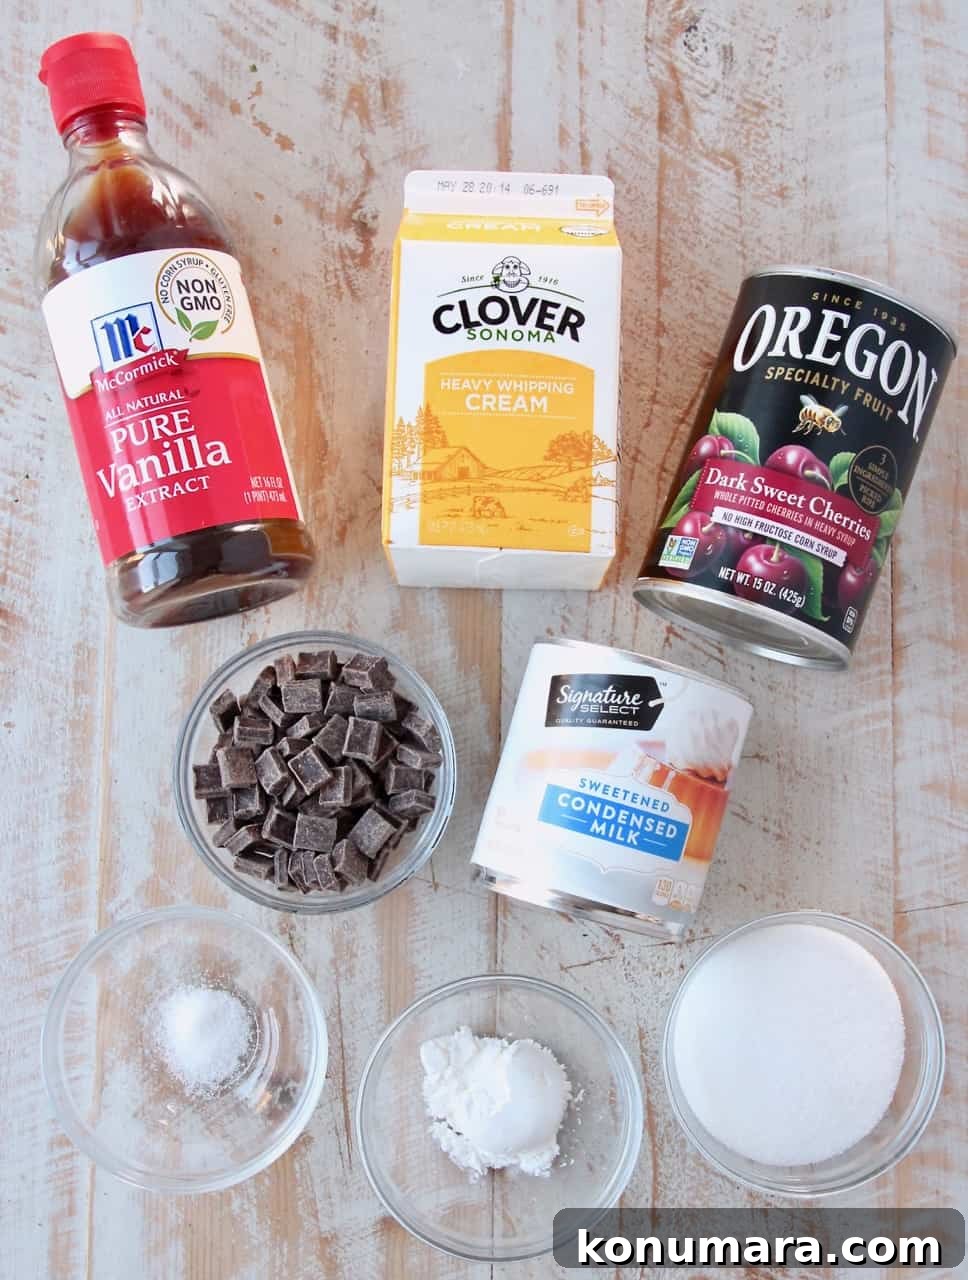
Ingredients
The ingredients below create a rich no-churn ice cream base plus a cooked cherry swirl and chocolate pieces. The full ingredient list with measurements is included in the recipe card further down.
- Canned dark sweet cherries – choose canned sweet cherries (not tart/cherry pie tart cherries) for the best flavor. If you prefer, you can use fresh or frozen sweet cherries; see notes for adjustments.
- Sweetened condensed milk – this provides sweetness and structure to the no-churn base.
- Heavy cream – also labeled heavy whipping cream; whip it until firm peaks form to create the ice cream texture.
- Dark chocolate chunks – use chocolate chunks, chips, or a chopped bar. Dark chocolate pairs nicely with the cherries, but use your favorite chocolate if you prefer a sweeter bite.
Instructions
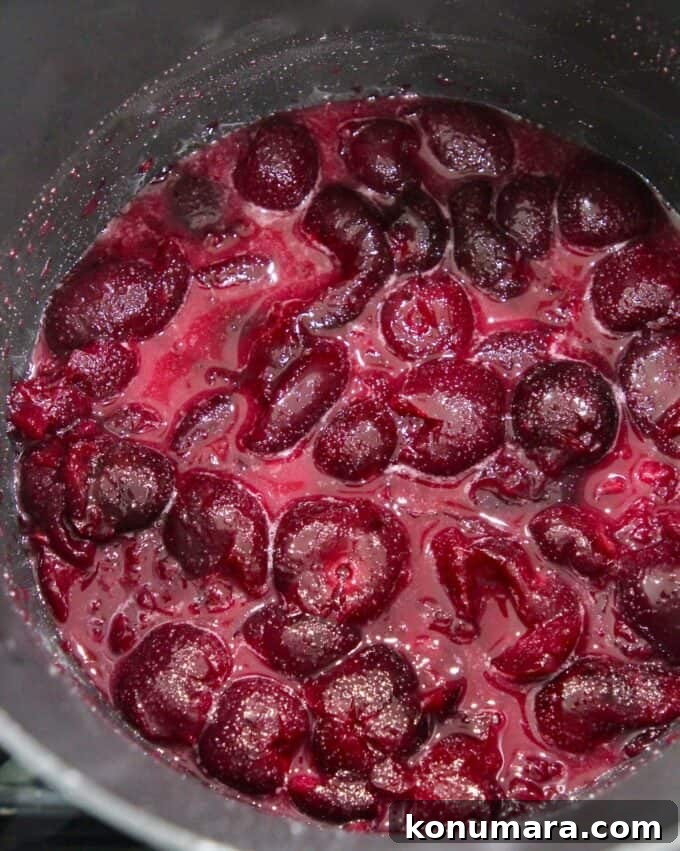
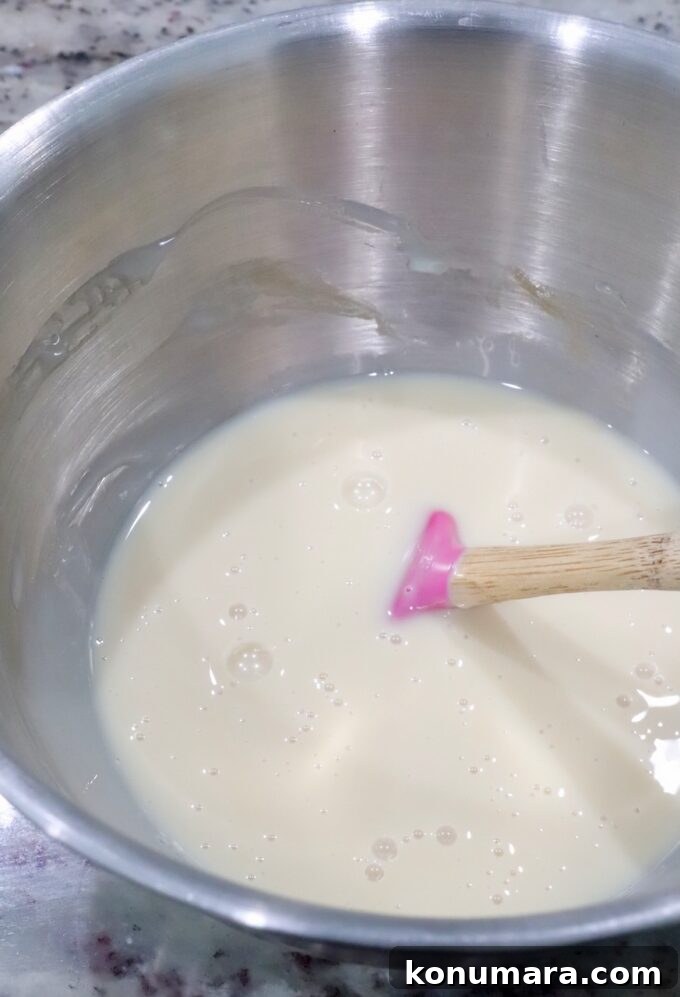
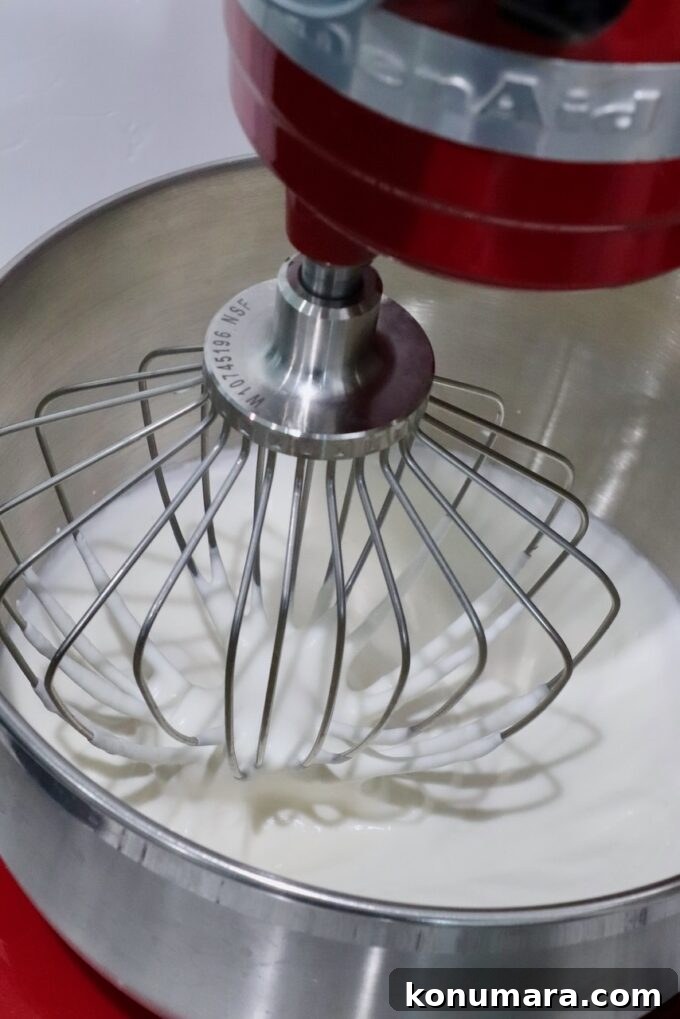
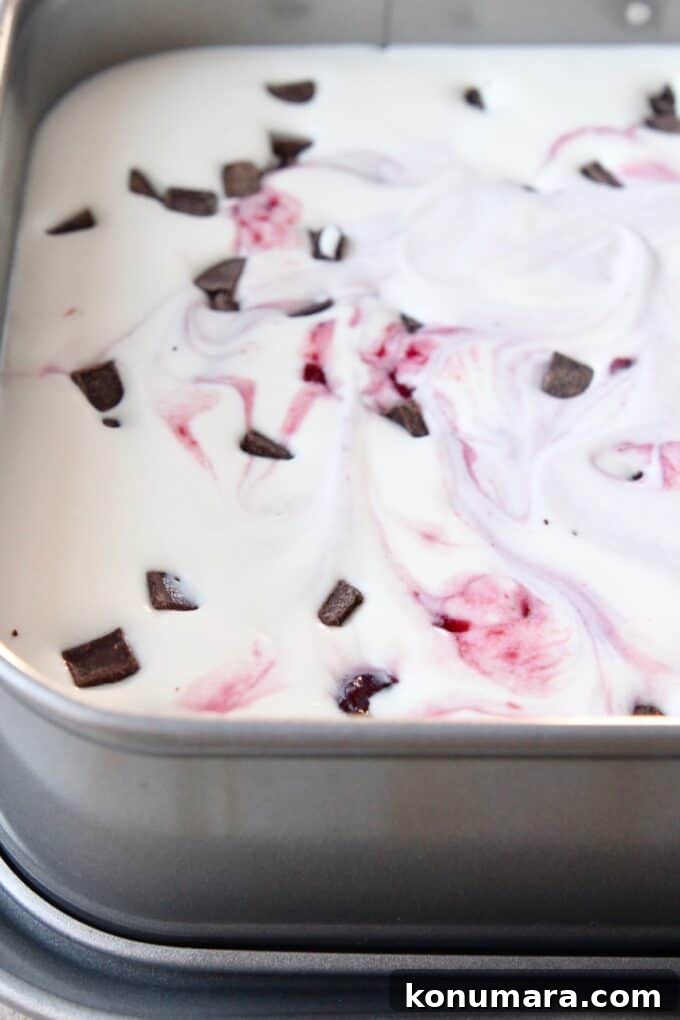
Below are concise step-by-step directions to make this no-churn Cherry Garcia ice cream at home. Photos illustrate key stages: cooking the cherries, preparing the base, whipping the cream, and freezing the mixture.
How to make mini Cherry Garcia ice cream cakes
This ice cream works beautifully for mini ice cream cakes. Prepare small chocolate cupcakes from a cake mix or your favorite recipe, cool them, and freeze briefly. Top each cupcake with a generous scoop of the Cherry Garcia ice cream, freeze again until firm, and serve. These mini cakes make an easy, festive summer treat and are perfect for parties.
More no-churn ice cream recipes
Fill your freezer with a variety of no-churn flavors. Try other homemade favorites such as No Churn Peanut Butter Ice Cream, No Churn Strawberry Ice Cream, No Churn Salted Caramel Ice Cream, and No Churn Moose Tracks Ice Cream to expand your collection of easy, no-machine desserts.
No Churn Cherry Garcia Ice Cream
Ingredients
- 15 ounce can dark sweet cherries, drained
- ⅓ cup sugar
- 1 tablespoon cornstarch
- 14 ounce can sweetened condensed milk
- 2 teaspoons vanilla extract
- ¼ teaspoon sea salt
- 2 cups heavy cream, cold
- ½ cup dark chocolate chunks, or chocolate chips
Instructions
- Drain any liquid from the can of cherries.
- Place the drained cherries in a medium saucepan over medium heat.
- Add the sugar and cornstarch to the cherries and stir to combine.
- When the mixture begins to bubble, reduce the heat slightly and cook for about 5 more minutes until it thickens.
- Use the back of a spoon to smash some cherries while leaving others whole to create texture in the swirl.
- Remove the cherries from heat and cool while you prepare the ice cream base.
- In a medium bowl, whisk together the sweetened condensed milk, vanilla extract, and sea salt.
- Whip the cold heavy cream with a mixer on medium-high until firm peaks form, about 4–5 minutes.
- Gently fold the condensed milk mixture into the whipped cream until combined.
- Stir in the dark chocolate chunks, then lightly swirl in the cooled cooked cherries.
- Pour the mixture into a 2-quart container (metal works best for faster freezing), smooth the top, and cover with plastic wrap or a lid.
- Freeze for at least 5 hours or overnight until firm.
Notes
- Fresh cherries: Use 2 cups of pitted sweet cherries (Bing or similar). Cook and proceed with the recipe the same way.
- Frozen cherries: Use 2 cups of sweet, pitted frozen cherries. Add about 5 minutes to the cooking time so they defrost and break down.
- Smoother texture: If you prefer no chunks, puree the cooked cherries before folding them into the ice cream base.
- Faster freezing: Pouring the mixture into a metal container and placing it toward the back of the freezer will speed up freezing.
- Yield: This recipe makes about 1/2 gallon of ice cream (approximately 4 pints or 12 scoops).
- Storage: Store tightly sealed in the freezer to avoid freezer burn. Homemade ice cream keeps well for up to 6 months when properly sealed.
- Gluten free: The recipe is naturally gluten free—just verify that any chocolate you use is labeled gluten free if needed.
Nutrition Facts
Please consider leaving a star rating and review to let others know how it turned out for you.